Learn 2 Git
This mini readme has the basics of how to use git, upload to Github and how to use GithubPages.
Topics:
- What is Git
- Installing Git
- Initializing Git in a projects
- Switching to a Dev branch
- Branching out from Dev
- Verifying and merging branches
- Git Log
- Git Stash
- Git Pull
- Git Clone
- Link to a remote repository
- Upload to Github
- Upload to Github Pages
What is Git
People call git time-traveling, others call it a miracle, but the truth is, Git is a version manager. This means that Git helps us keep track of things in our projects.
Glossary
mkdirmake a directorytouchcreate a filecatoutput content of a filecdchange directoryvienter text editor vilslist directory contents
Installation
If you're on a Windows machine, then you should go to:
Git for Windows
I recommend downloading GitBash (which comes with the installation) as well as to have a more *nix terminal and make things easier.
If you're on a *nix machine, such as Linux or OSX, then you've got nothing to worry about, git already comes with your machine.
In case you want to update it, or in the unusual case it's not there, then run:
Linux
$ sudo apt-get update
$ sudo apt-get upgrade
$ sudo apt-get install git
OSX
$ brew install git
$ brew upgrade git
Small note on the brew command:
Brew stands for Homebrew, a very nice package manager, specifically for OSX, this PM will help you in the future, for installing things like databases, like Postgres, programming languages, like Ruby, and version managers, like RVM.
You can download it here: HOMBREW.
Initializing Git
Alright, you've got git in your machine, so let's start using it.
This is going to be a mini-tutorial on how to use git, so we'll make a small repository.
First let's make our folder. (I'll use my personal directory path but you can use your own):
$ cd Docmuents/Playground/ProjectsOnce inside your workspace directory, we'll create a folder to place all of our things for this tutorial.
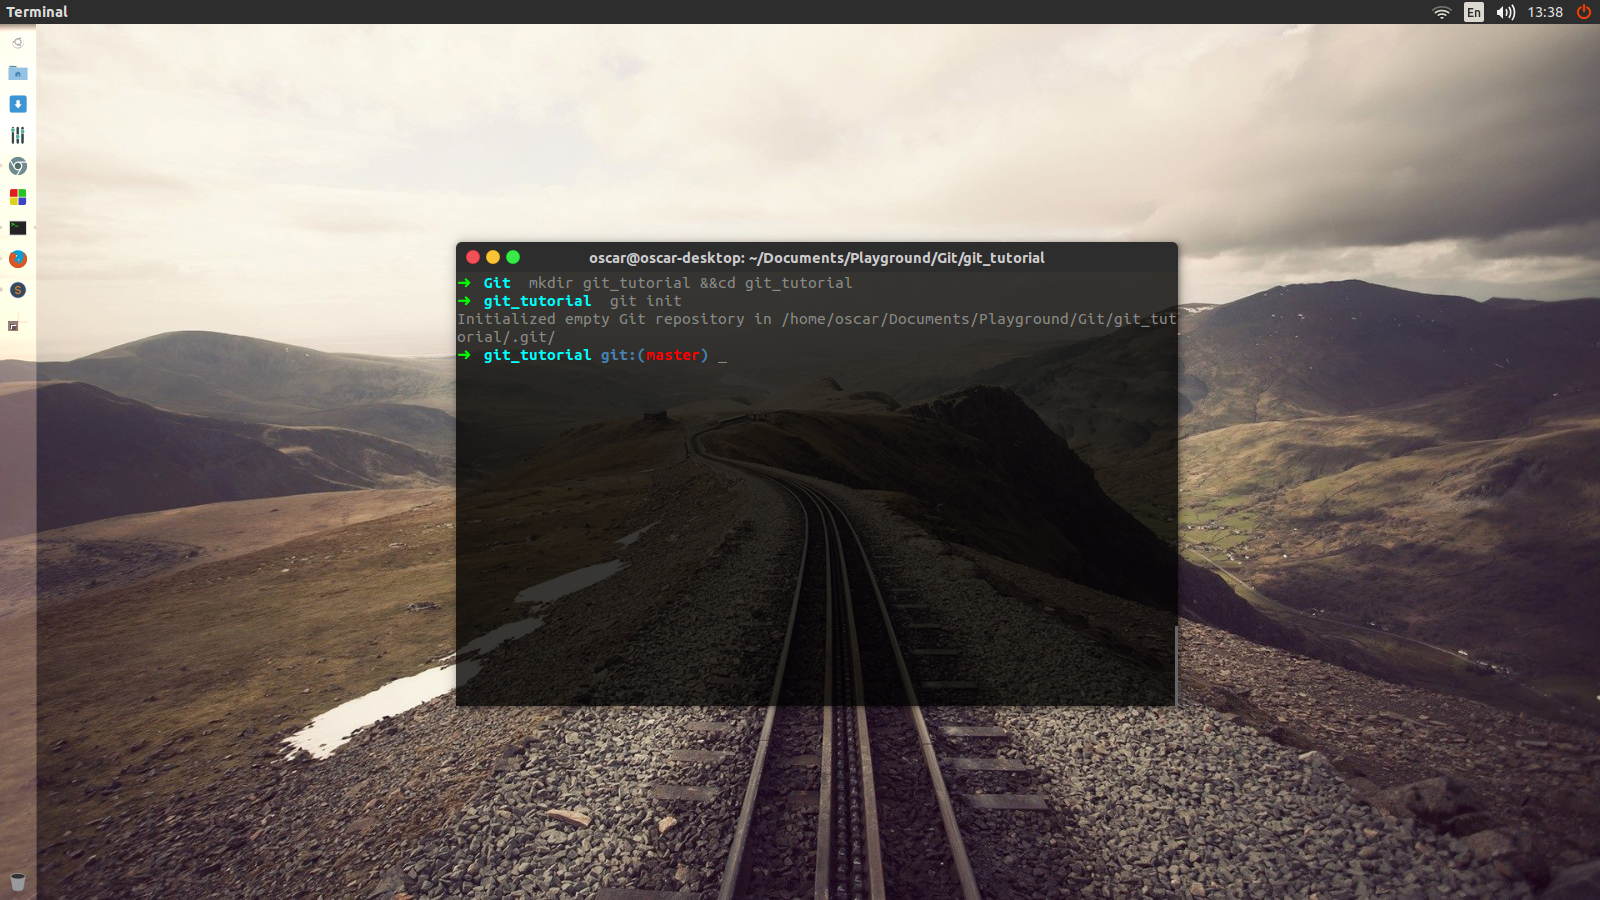
$ mkdir git_tutorial && cd git_tutorialGreat! Now, let's initialize our git project via:
$ git initYou should get a message like
Initialized empty Git repository in /Documents/Playground/Proyectos/git_tutorial/.git/You should see something like this:
Perfect, now let's create a simple text file with a classic Hello Wold
$ touch hello.txt && vi hello.txtDon't be scared by the last command, we just told our command line, or terminal, to enter the vi editor to add some text to our file. Remember to press i to enter insert mode and start typing.
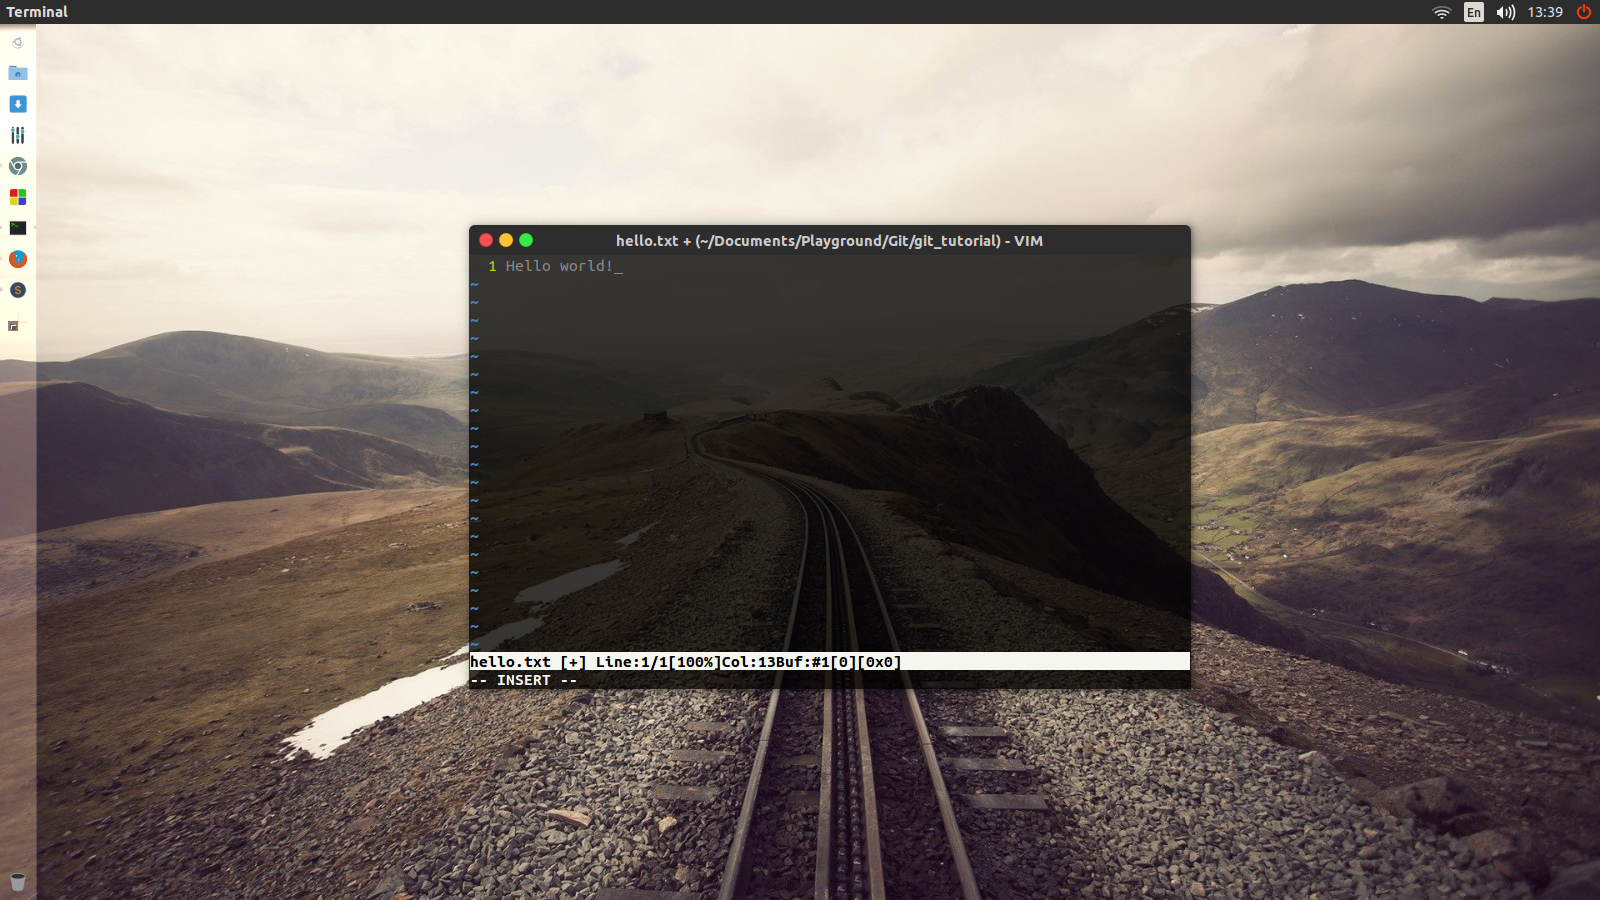
After that we can exit vi pressing esc and :wq (wq stands for write and quit), press enter and you should be back in your terminal. We can check our text file typing:
If you're in Windows, any text editor will do, like notepad.
$ cat hello.txtcat outputs the content of the file you typed in.
Now it's time for our first commit. Commits are basically a snapshot of your project, like a picture or a save point. You can always go back to a specific commit, but we'll see that later. First, let's check the project's status to see which file are pending to be added.
$ git statusYou should see:
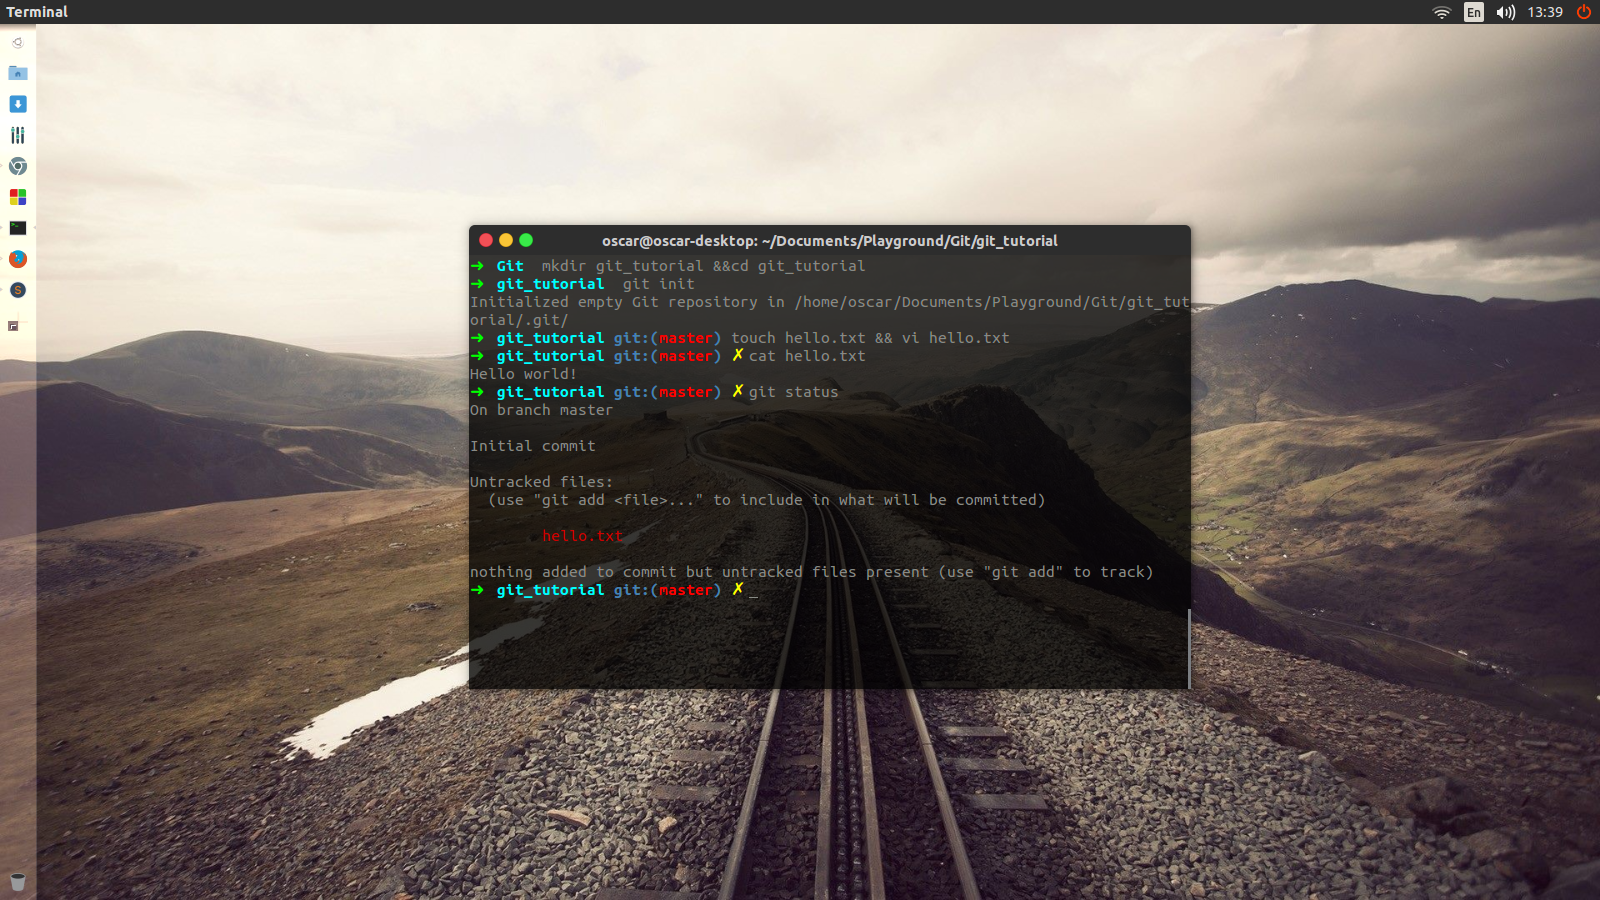
That means that hello.txt has not been added to the git project yet, so let's do that with a command to add all the files in our project:
$ git add -AYou can add individual files:
$ git add hello.txtAfter that we are good to go, let's commit our text file:
$ git commit -m "Adds text file to project"the -m command is for attaching a message to your commit, to it's easier to see what happened in that save point.
Branching out
Alright, we have our project rolling, it's time to introduce Branches. Branches allow you create a clone of your project under a different name that's not master, and lets you keep working with a different version of the project without contaminating the master branch. This is useful when we work with other people. Imagine a team of two people, each branching out from master to his or her own branch and work from there to avoid conflicts with each other.
The dev branch
Before anything else, we need to create a dev branch. The Dev branch allows us to break, refactor, add, and delete as much code as we need before sending it to production, or a final result, which almost always is master. After all the code has been verified in Dev, we can merge it with master and push it.
$ git checkout -b dev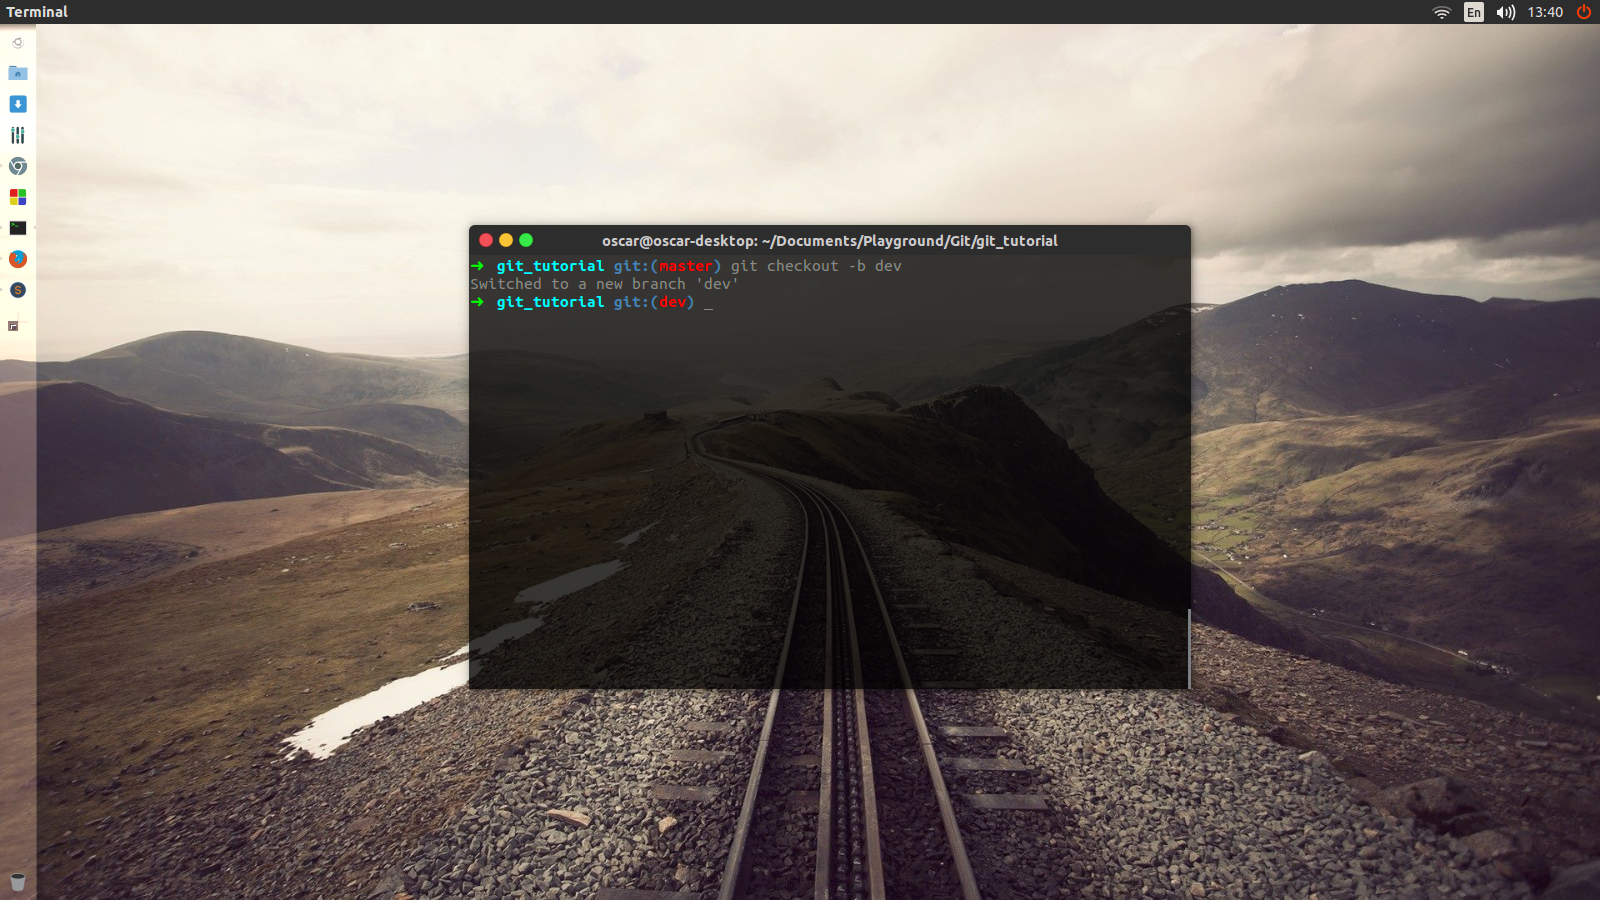
Now we have a copy of our project in another branch. It's time to modify it! It's good practice to have a separate branch for a feature, component, test or functionality. Right now we're in Dev, so we're going to create a new branch called feature/website and have a simple html file there.
$ git checkout -b feature/websiteThen we create our HTML file:
$ touch index.htmlThe content is in this link:
Just copy and paste it with any text editor.
Verifying and merging branches
Great! Now it's time to make our new commit. Same as before:
$ git add -A
$ git commit -m "Adds website to project"
Awesome, now it's time to merge our branches. Merging just means we take one branch and combine it with another one. We're going to merge it into Dev right now, here's how it would look like:
$ git checkout devIf we do
$ lsWe'll see that the index.html file is no there! Not to worry, this is because our index.html is in another branch, and we're going to bring it over here.
$ git merge feature/website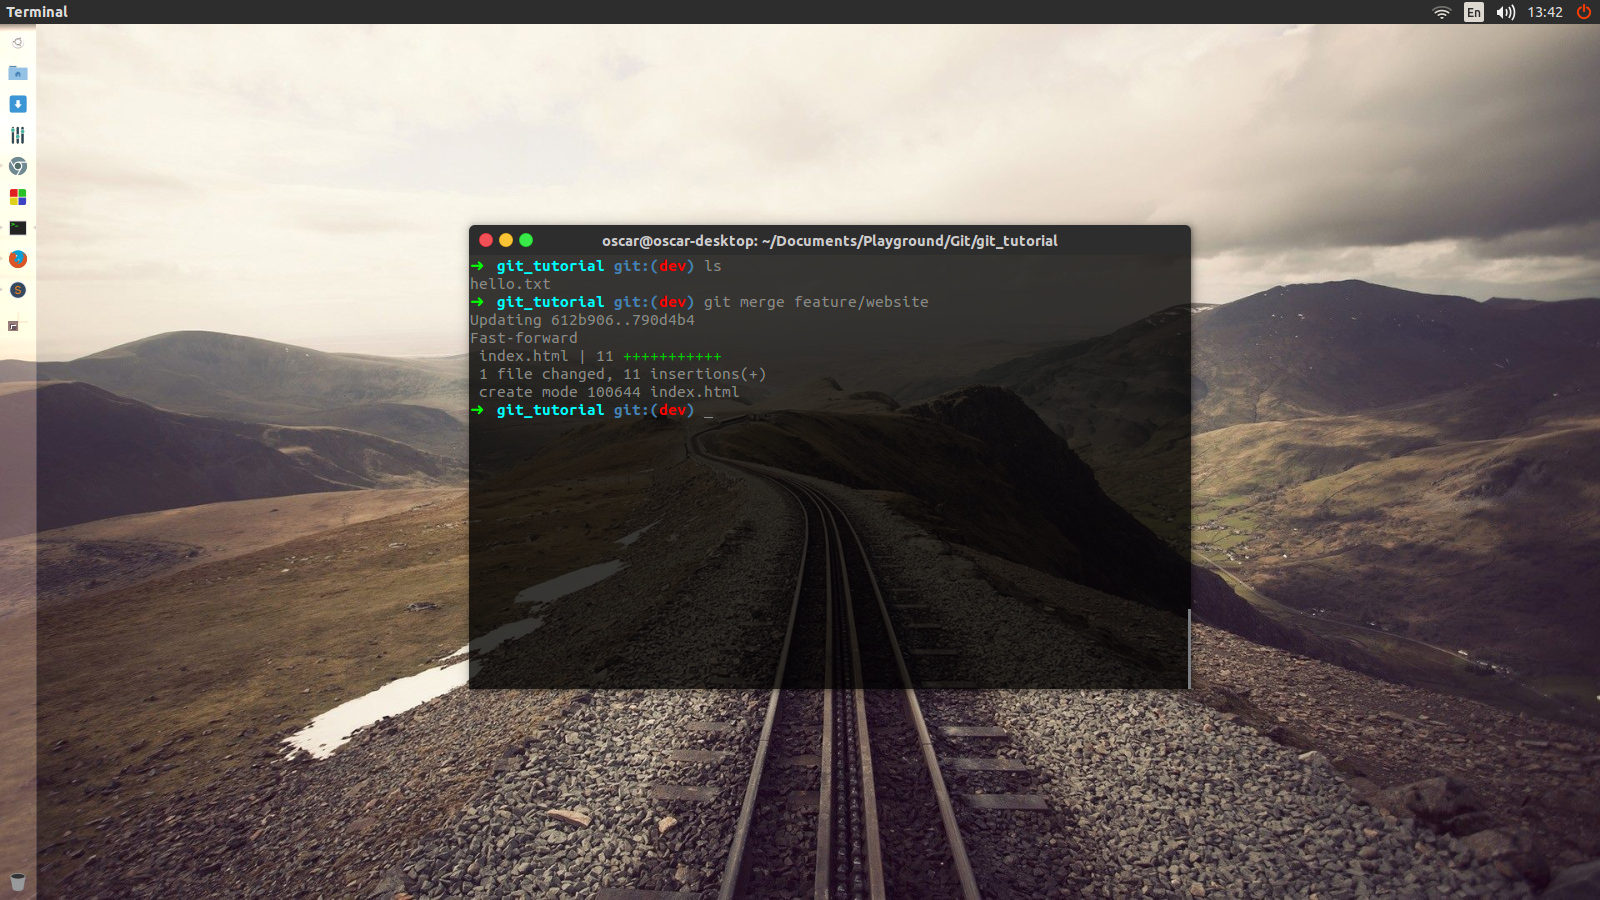
Now, repeating the ls command will show us our index.html file. Pretty cool, huh?
Good practice It's good practice to first verify that the external branch (in this case feature/website) works correctly. Maybe right now it's not obvious, but in a Rails application, for example, we should make sure all our tests are passing before merging an important feature into dev, and more importantly, master.
Git log
Seems like we did a lot, but let's go back to see what we actually did. Wait, how do we do that?
Git is awesome enough that it keeps track of everything we do, kind of like a log (not a wooden one). If we type
$ git log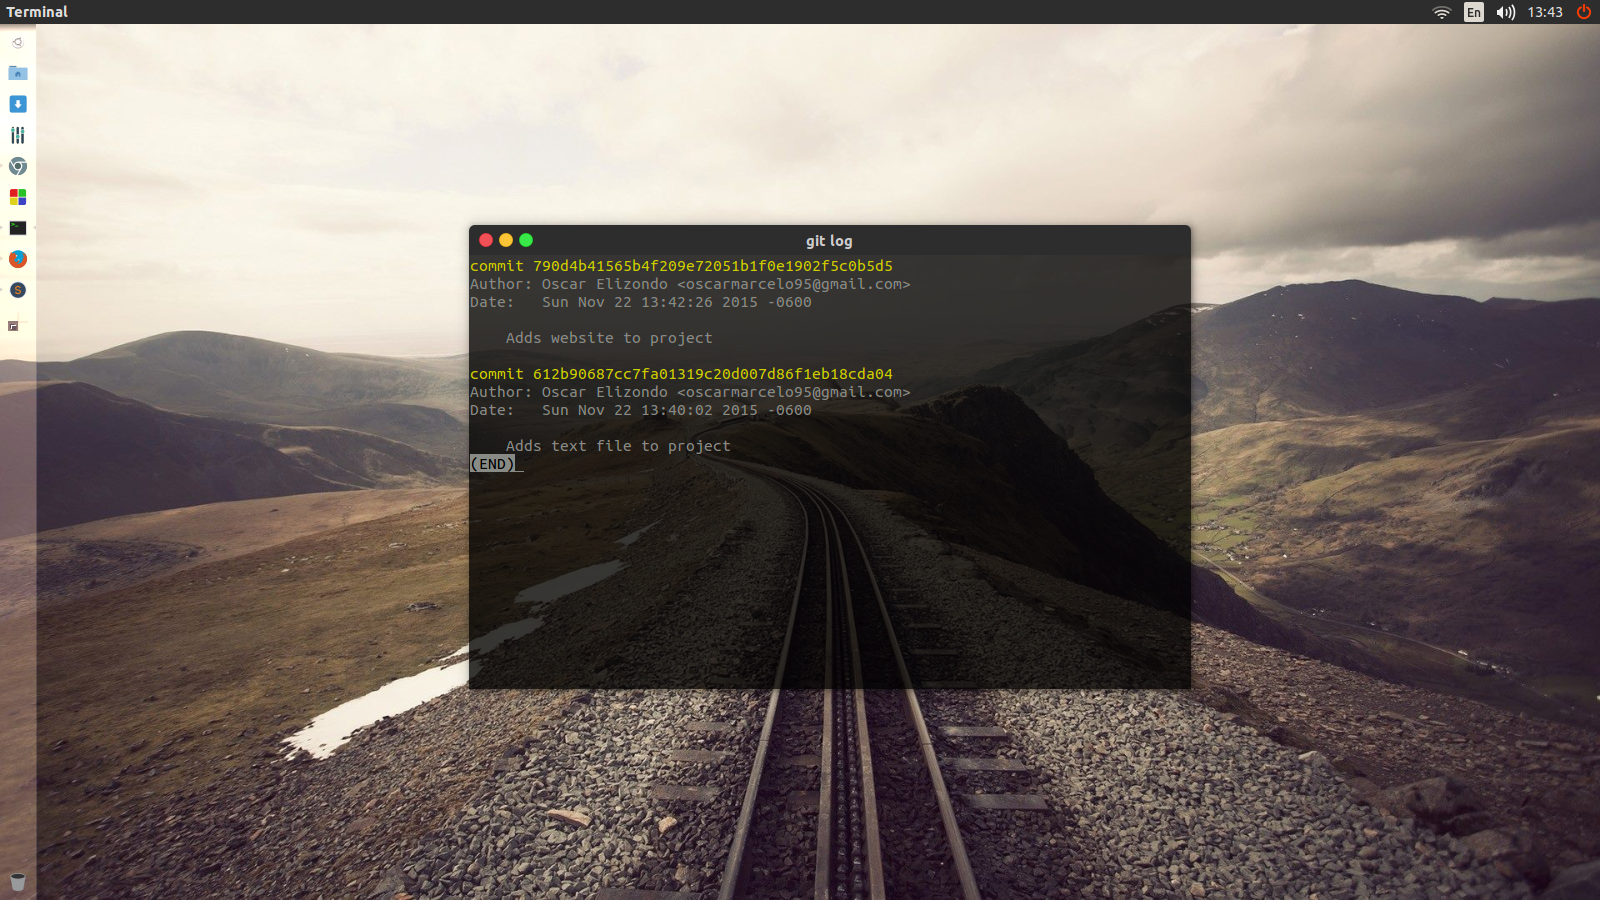
we can see:
- The commit Id
- The author of the commit
- When was the commit made
- The message that comes with the commit
This is very useful and we can keep track of who does what and when. Remember when I told you we can hop to different commits in case somebody commited some buggy code? We totally can:
git checkout <commit_id>This will send us back in time to that specific point of our project and allow us to fix that buggy code nobody likes.
Git stash
This is a more specific feature of git, but let's say you're in feature/website and some coworker asks you to do something in dev. That's fair, but you're not finished working in your branch, and to change back to dev you'd have to make a silly commit with work that's not done. This is where git stash comes in. Git stash let's you put your code in a hold state, and you can move around without affecting the paused files. We just:
$ git stashThis sends everything into a queue list, and pauses your branch, allowing you to switch over to dev and continue working. When coming back to feature/website then you should just
$ git stash popTo resume your work.
Github and Github Pages
Alright, you're probably wondering by now how to upload your repository to Github and have many stars. I'll tell you, if you're reading this then you're already here in github, so go ahead and click the big green button that says + New repository. Name it (whatever you want), add a description and click the create button.
The next screen is kinda scary, but no fear, we only need the middle option …or push an existing repository from the command line
Before we can push anything though, we need to merge with master, remember? Go ahead and commit everything you have in dev, and merge to master (No tutorial this time, your turn!).
Now we just copy paste:
$ git remote add origin git@github.com:<your_username>/<your_repository>.git
$ git push -u origin master
If it's your first time using git, then you'll be prompted to add your email and username. This is fine, it's for git and github to know who you are, so go ahead and follow those instructions.
And there we go, you just published your first project on Github!
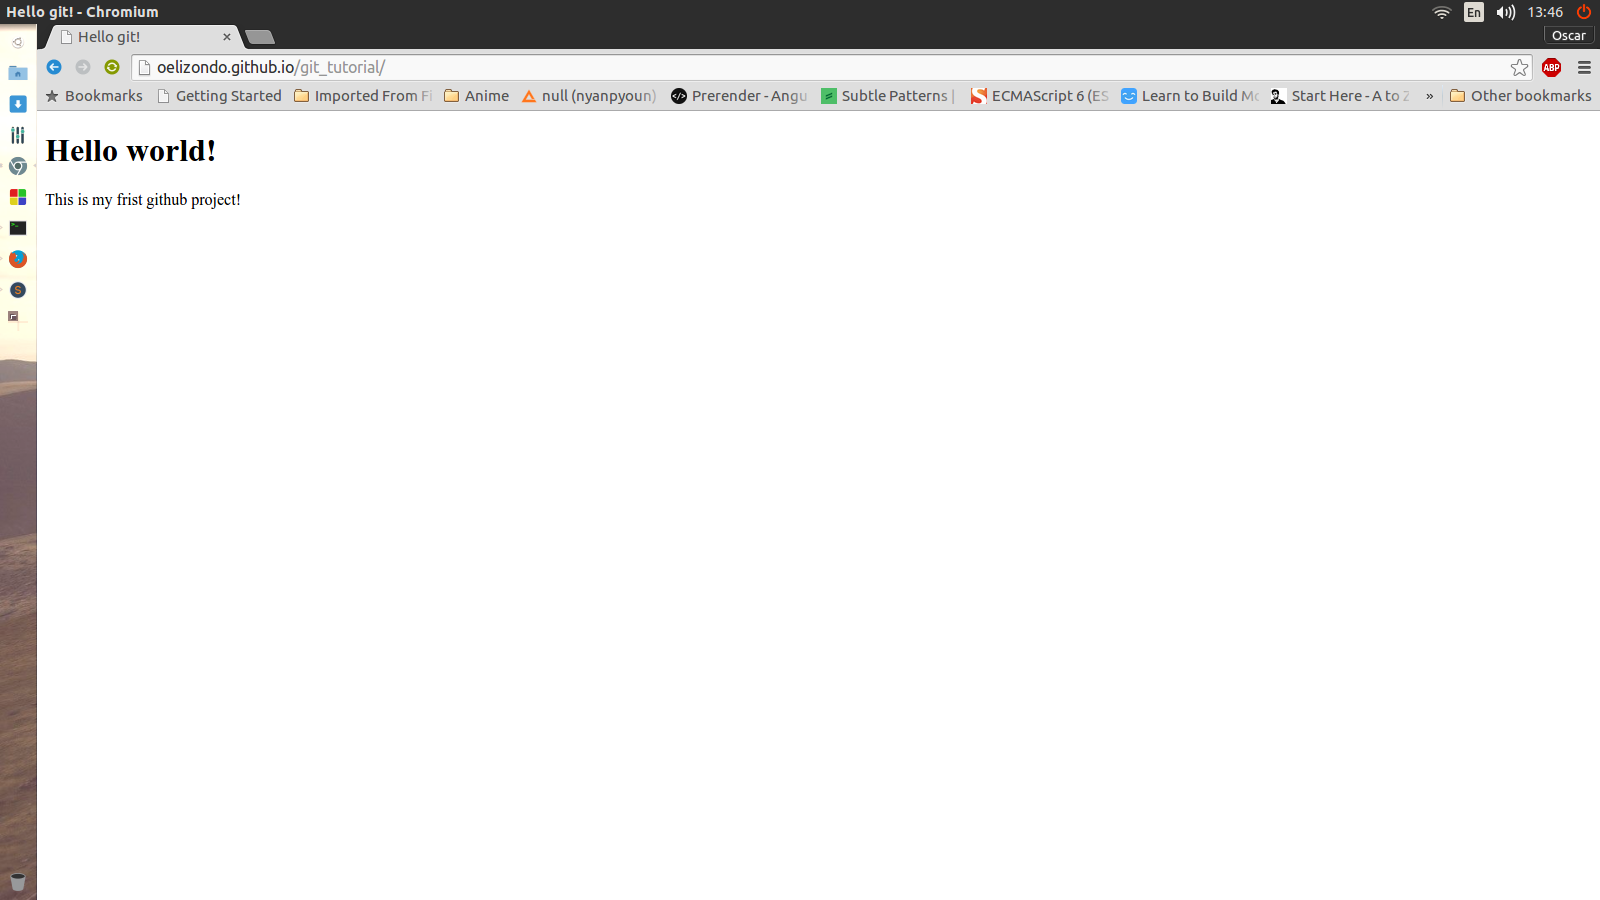
Great, now we want to publish our website. Wait, what!? But I have to pay for that! Don't worry, Github gives us free hosting of our websites. You can check the whole documentation here: Github Pages.
For now, let's go ahead and checkout a new branch called gh-pages
$ git checkout -b gh-pagesNow we just push
$ git push -u origin gh-pagesAnd we're done! Our website should be published in just a minute.
Good Practices and Naming Conventions
Some good practices:
- Always create a dev / mvp / staging branch from master so you can work without worries.
- Name your branches short and sweet, prefix them with the purpose of that branch feauture/user_aunthentication, test/users_spec.
- After making sure your branch is working, merge it to dev and then delete that branch. This avoids having unused left-over data.
- Remember to commit useful messages. Don't make a "lol" commit message. What if another developer has to join your team and must read through your code base?
Feel free to add any other good practices you feel necessary! How? like this:
Contributing to other projects.
When contributing to another person's repository, it's good practice to check open issues first. You should look at them, choose one, and then ask for specifics so you can start working. When you decide on an issue, them you need to:
- Clone project.
- Checkout a new branch for your changes.
- Make your changes.
- Do
git push -u origin <your_branch> - Create a pull request from your banch to
spanishormaster.
Creating a Pull Request
Creating a pull request is easy. After you made your changes, you need to push them with
git push -u origin <your_branch>, what this does is creates a new branch in the project, and then asks the owner of that project if your changes are alright to be merged with another working branch.
If the owner says it's okay, then the pull request is merged and the issue is closed. This is what we call open source contributing.
Todo
- Translate to Spanish.
Author
Oscar Elizondo
Where to now?
These are just the basics of git, I would recommend checking out Gitflow to see where these conventions and practices come from. TryGit is acclaimed by the community, why don't you give it a try?
If something is not clear enough here, feel free to send a message or create an issue.