NOTE!: This repository has been archived for the time being as we change the way source connect & authenticate. As this standardises again and as we start adding more sources more rapidly we might bring this back
Source Template
The template repository is used for creating secondary sources written in Golang.
Getting Started
Follow this getting started guide to copy this template and customize it to your own requirements. Once you have followed all the steps in this process you can delete this section from the README.md.
- Make a copy of this template using the Use this template button
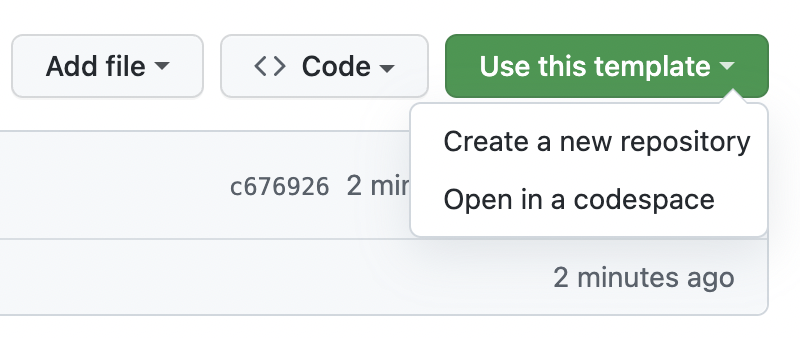
- Give the new repo a name and description
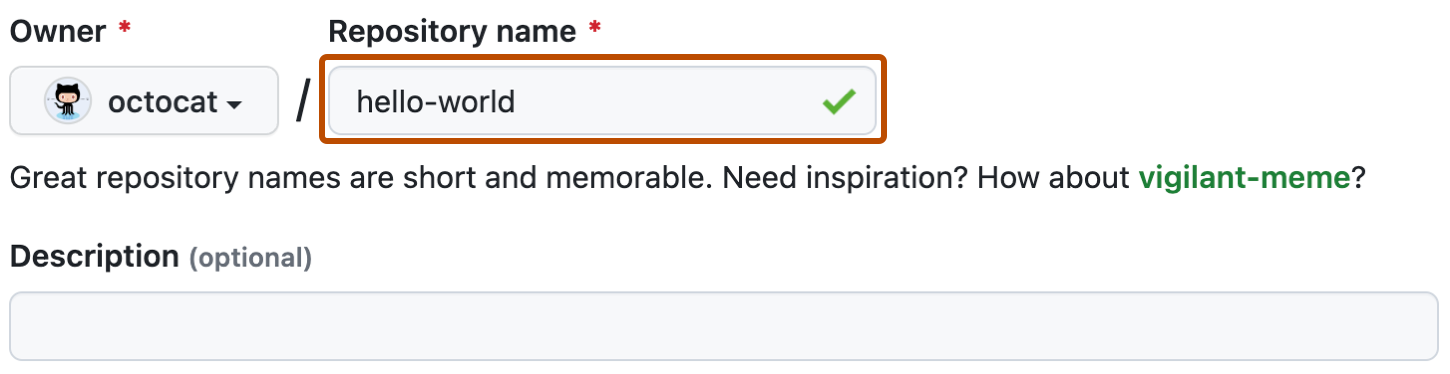
- Click Create repository from template. Then clone the new repo locally.
- In order for our code to work, we need to replace all instances of
github.com/overmindtech/source-templatewith the name of your new repo e.g.github.com/your-username/your-source. Use find and replace in your editor (or CLI) to do this e.g. VSCode - Install all required modules:
go mod vendor - Run the tests to make sure the codebase works
go test ./... - You're now ready to start writing your sources, have look in the
sources/folder for some working example sources that you can base your source on. Remember to delete these though once you're done - While you're going you should be writing tests to ensure that your source behaves the way you expect in different scenarios.
Config
All configuration options can be provided via the command line or as environment variables:
| Environment Variable | CLI Flag | Automatic | Description |
|---|---|---|---|
CONFIG |
--config |
✅ | Config file location. Can be used instead of the CLI or environment variables if needed |
LOG |
--log |
✅ | Set the log level. Valid values: panic, fatal, error, warn, info, debug, trace |
NATS_SERVERS |
--nats-servers |
✅ | A list of NATS servers to connect to |
NATS_NAME_PREFIX |
--nats-name-prefix |
✅ | A name label prefix. Sources should append a dot and their hostname .{hostname} to this, then set this is the NATS connection name which will be sent to the server on CONNECT to identify the client |
NATS_JWT |
--nats-jwt |
✅ | The JWT token that should be used to authenticate to NATS, provided in raw format e.g. eyJ0eXAiOiJKV1Q{...} |
NATS_NKEY_SEED |
--nats-nkey-seed |
✅ | The NKey seed which corresponds to the NATS JWT e.g. SUAFK6QUC{...} |
MAX-PARALLEL |
--max-parallel |
✅ | Max number of requests to run in parallel |
YOUR_CUSTOM_FLAG |
--your-custom-flag |
Configuration that you add should be documented here |
srcman config
When running in srcman, all of the above parameters marked with a checkbox are provided automatically, any additional parameters must be provided under the config key. These key-value pairs will become files in the /etc/srcman/config directory within the container.
apiVersion: srcman.example.com/v0
kind: Source
metadata:
  name: source-sample
spec:
  image: ghcr.io/overmindtech/source-template:latest
  replicas: 2
  manager: manager-sample
  config:
    # This is the default name of the config file read when the container is
    # started. Any parameters that are acceptable at the commend line can and
    # should be passed here
    source.yaml: |
      your-custom-flag: "Some value!"
    # You can add any additional keys here that your source might require and
    # they will also become files in the `/etc/srcman/config` directory. For
    # example the below will create a file called
    # `/etc/srcman/config/weather.txt` which contains the string "sunny".
    #
    # Remember that if you add anything here, you also need to tell your source
    # to read it. Usually this could be used for things that would otherwise
    # make the config unwieldy such as certificates. Simple config values
    # should just go in `source.yaml` since that is read automatically
    weather.txt: sunny
NOTE: Remove the above boilerplate once you know what configuration will be required.
Health Check
The source hosts a health check on :8080/healthz which will return an error if NATS is not connected. An example Kubernetes readiness probe is:
readinessProbe:
  httpGet:
    path: /healthz
    port: 8080
Development
Running Locally
The source CLI can be interacted with locally by running:
go run main.go --helpTesting
Tests in this package can be run using:
go test ./...Packaging
Docker images can be created manually using docker build, but GitHub actions also exist that are able to create, tag and push images. Images will be build for the main branch, and also for any commits tagged with a version such as v1.2.0