BTHome THB1, THB2, THB3, BTH01, TH05 (HW: v1.3..1.6), TH05F
Custom firmware for Tuya devices based on the PHY622x2 chipset.
| THB1 | THB2 | THB3 | BTH01 | TH05_V1.3 | TH05_V1.4 | TH05F |
|---|---|---|---|---|---|---|
 |
 |
 |
 |
 |
 |
 |
This firmware works with Home Assistant and other software running in the BTHome format.
All firmware supports any of these sensors: CHT8215 (CHT8310), CHT8305, CHT832x, AHT20..30.
Software for setting up and making BLE OTA: PHY62x2BTHome.html.
Uploading OTA files to PHY62x2BTHome.html is automatic. You don't need to download files from this repository for OTA.
To run PHY62x2BTHome.html offline, just copy the html file to a local folder.
Getting started with the device
To work with the device, you need to write the FW Boot firmware to the device via a USB-COM adapter. Boot firmware is a program with reduced functionality and provides secure OTA updates.
Next, using the BLE connection in PHY62x2BTHome.html through the OTA tab, the main operating program of the FW APP is recorded.
FW APPcan also be recorded using a USB-COM adapter.
Boot and App firmware
The Boot firmware has minimal functions. FW Boot is only used for downloading via OTA the full-featured version of FW APP (.bin files).
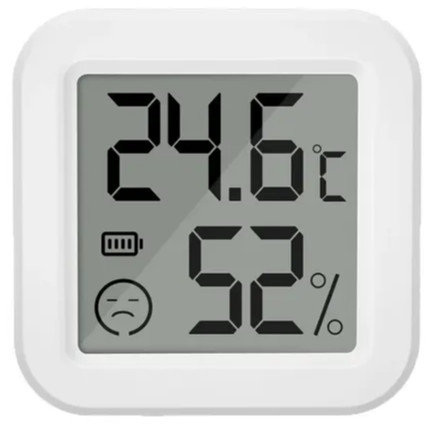
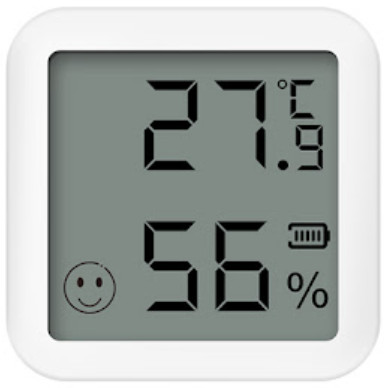
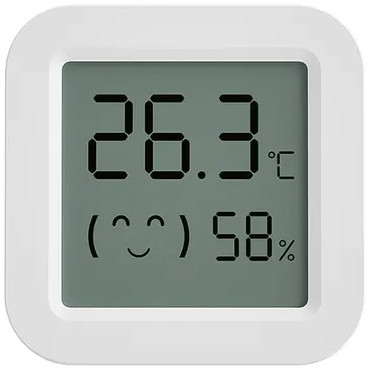
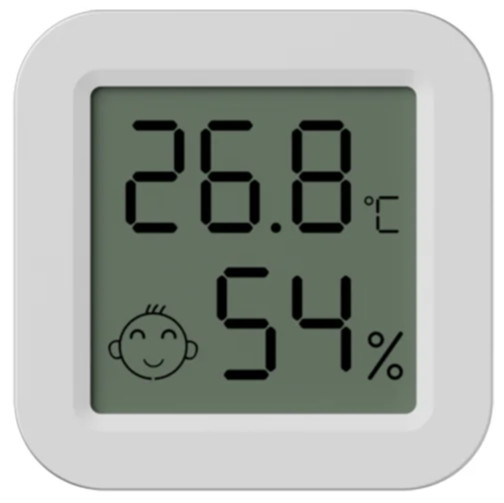
- The device type can be distinguished externally by the smiley face symbol on the screen.
| Device | Boot file | OTA file | Printed circuit board labelling |
|---|---|---|---|
| THB1 | BOOT_THB1_v19.hex | THB1_v19.bin | no |
| THB2 | BOOT_THB2_v19.hex | THB2_v19.bin | no |
| THB3 | BOOT_THB2_v19.hex | THB2_v19.bin | no |
| BTH01 | BOOT_BTH01_v19.hex | BTH01_v19.bin | no |
| TH05_V1.4 | BOOT_TH05_v19.hex | TH05_v19.bin | TH05_V1.4, TH05_V1.5, TH05_V1.6 (chip: BL55028) |
| TH05_V1.3 | BOOT_TH05D_v19.hex | TH05D_v19.bin | RSH-TH05-V1.3 (chip: BL55072) |
| TH05F | BOOT_TH05F_v19.hex | TH05F_v19.bin | TH05Y_V1.1, TH05Y_V1.2, TH05Y_V3.1 (chip: QD01 2332 NT) |
The main firmware files, BOOT_XXX_vXX.hex (for programming via USB-COM adapter) and XXX_vXX.bin (for OTA), are located in the bin directory.
Files for updating boot via OTA are located in the update_boot directory. **
The current version of
FW Bootfor TH05Y_V3.1 with CHT832x sensor is v2.0, for the rest - v1.9.
Internal GPIO pinout:
| Firmware | Sensor SDA/SCL/Power | LCD SDA/SCL/Power | Key | LED | TRG(TX) | IN(RX) |
|---|---|---|---|---|---|---|
| THB1 | P18/P20/- | P34/P33/- | P01 | - | P09 | P10 |
| THB2 | P18/P20/- | - | P07 | P26 | P20 | P18 |
| THB3 | P18/P20/- | P34/P33/- | P01 | - | P09 | P10 |
| BTH01 | P33/P34/P00 | - | P14 | P15 | P20 | P18 |
| TH05 | P33/P34/P00 | P33/P34/P02 | P14 | - | P20 | P18 |
| TH05D | P31/P32/- | P11/P14/- | P02 | - | P09 | P10 |
| TH05F | P33/P34/P00 | P26/P31/P02 | P14 | - | P20 | P18 |
The LCD chip is initialized the same way in all variants, but the connection ports are different. The LCD has different segment layouts depending on the model. The sensors are detected automatically, but have different ports depending on the model.
Main features
With default settings:
- BLE advertisement interval in BTHome v2 format is 5 seconds.
- Humidity and temperature sensor is polled every second BLE advertisement interval - period of 10 seconds.
- Battery voltage measurement is done every minute.
- Recording of history every 30 minutes.
- The button is used for quick connection to old BT adapters. Pressing the button switches the BLE advertising interval to a shorter period (1562.5ms). The action will continue for 60 seconds, then the interval will be restored to the one set in the settings.
- The measured average consumption from a 3.3V source when scanning THB2 and BTH01 thermometers in passive mode is up to 8 µA.
For TH05_V1.4 the average consumption is about 23 µA (this is the current of the installed components). Other versions with screen: 12 to 14 µA with LCD on and 7 to 12 µA with LCD off. - Connection interval with Connect Latency (900ms).
- Handling of input counter contact for transmitted Open/Close events
- Processing of output contact switchable by set temperature and/or humidity with hysteresis.
- Support low-cost BLE to Zigbee advertising repeater
Version History
| Version | Description |
|---|---|
| 1.0 |
|
| 1.1 |
|
| 1.2 |
|
| 1.3 |
|
| 1.4 |
|
| 1.5 |
|
| 1.6 |
|
| 1.7 |
|
| 1.8 |
|
| 1.9 |
|
| 2.0beta |
|
Firmware
It is possible to flash the device with the Boot program via USB-COM adapter with 3.3V outputs.
- Connect GND, TX, RX, RTS-RESET, VCC (+3.3B):
| Adapter | Device |
|---|---|
| GND | -Vbat |
| +3.3V | +Vbat |
| TX | RX1 |
| RX | TX1 |
| RTS | RESET |
If there is no RST pin on the adapter, then short the RESET pin to GND (-Vbat) and quickly open it when the script starts (it may take a few tries).
The name of the pins on the device can be found in the description at the links:
- Install python3 and the necessary libraries:
pip3 install -r requirements.txt-
Download the BOOT_XXX_vXX.hex file required for the specific device from the bin directory.
-
Run:
python3 rdwr_phy62x2.py -p COM11 -e -r wh BOOT_XXX_vXX.hex-
Boot flashing is complete. The device is operational and the adapter can be disconnected.
-
Download the full version of the firmware via OTA. To do this:
- Apply power to the sensor.
- Go to PHY62x2BTHome.html.
- Click the
Connectbutton, look for the device, and connect. - Once connected, go to the
OTAtab, select the required firmware (.bin) and clickStart.
-
The device should reboot and be ready for use.
Optional:
- To pre-wipe the entire flash, use the
-aoption.- To pre-wipe the flash workspace, use the
-eoption.- With the USB-COM adapter it is possible to write the main firmware (APP) immediately:
python3 rdwr_phy62x2.py -p COM11 -r we 0x10000 XXX_vXX.bin
Saving the original firmware
- Connect GND, TX, RX, RTS-RESET, VCC (+3.3B).
- Run:
python3 rdwr_phy62x2.py -p COM11 -r rc 0x11000000 0x80000 ff_thb2.bin- Save the resulting ff_thb2.bin file.
Restoring the original firmware
Original Tuya firmware for a specific device type can be obtained from the links in the table at the beginning of this README.
- Take the saved ff_thb2.bin file of the original firmware.
- Connect GND, TX, RX, RTS-RESET, VCC (+3.3B).
- Run:
python3 rdwr_phy62x2.py -p COM11 -b 1000000 -r we 0 ff_thb2.binNot all USB-COM adapters support 1Mbit. Then remove the
-b 1000000option or select a different baud rate.
- The firmware has been flashed and the device should work.
Flash allocation (512 kilobytes)
| Address | Description | Size | |
|---|---|---|---|
| 0x00000 | ROM used | 8 kilobytes | |
| 0x02000 | Boot Info for ROM | 4 kilobytes | |
| 0x03000 | FW Boot with OTA function | 52 kilobytes | |
| 0x10000 | FW APP | 128 kilobytes | |
| 0x30000 | History Recording | 304 kilobytes | |
| 0x7C000 | Save Settings (EEP) | 16 kilobytes | 16 kilobytes |
FW Boot and OTA
-
FW Boothas an OTA function, but does not have a history function or any other add-ons. It is used to handle OTA for any failed or incorrect updates. -
FW APPhas no OTA function, for OTA it reboots intoFW Boot. It has additional features and extensions.
Action of the button when the device is turned on:
-
If the button is pressed at startup,
FW Bootalways starts. -
If the button is not pressed, the
FW APPentry is checked or not. If there is anFW APP, it launches theFW APP. If there is noFW APP,FW Bootis launched.
On thermometers with a screen, if the time display is not turned on, during start or restart the following is displayed for a short time:
"Bot 14" - FW Boot version 1.4
"APP 15" - FW APP version 1.5
There are two ways to force a reboot to FW Boot from FW APP:
- Switch off the power and hold down the button to switch on the power.
- Enter the
7233command in theServicemenu of the PHY62x2BTHome.html program.
Complete reboot: Enter the
7201command in theServicemenu of the PHY62x2BTHome.html program.
Through USB-UART adapter, APP can be written immediately after boot. For example:
python3 rdwr_phy62x2.py -p COM11 -e wh ./bin/BOOT_TH05V13_v13.hex
python3 rdwr_phy62x2.py -p COM11 -r we 0x10000 ./bin/TH05V13_v13.bin
Open/Close event and pulse counting
Since version 1.2 it is supported to poll a pin connected to a reed switch or a contact shorted to GND.
The maximum switching frequency is 100 times per second.
If the contact is rattling, then it is advisable to shunt the contact with a capacitor.
When closing or opening, a block of 5 BLE adverts is transmitted following each other after a period of 50 ms.
At each "Open" event a counter is added.
The counter value is transmitted together with each "Open/Close" event.
Input contact on the thermometer board:
- On THB1 - labelled as
RX. - On THB2 - labelled as
RX. - On THB3 - labelled as
RX. - On BTH01 - labelled as
RX2. - On TH05_V1.3 - labelled as
RX0. - On TH05_V1.4 - labelled as
RX2.
Temperature and/or humidity control output of an external device
The contact on the printed circuit board labelled "TX" or "TX2" is controlled with hysteresis setpoints for temperature and humidity. It is possible to switch to inverse output control.
The setting is made in PHY62x2BTHome.html program.
Output operation is assigned by setting the hysteresis value:
- If the hysteresis value is zero, there will be no switching.
- If the hysteresis value is greater than zero, switching (switching on) will occur at a value lower than the setpoint + hysteresis.
- If the hysteresis value is less than zero, switching (switching on) will take place at a value higher than setpoint + hysteresis.
Reset basic settings
To reset basic parameters to initial values, take an Android smartphone and the "nRFConnect" app.
Connect to the device and in the service 0xFCD2 with characteristic 0xFFF4 write 56.
- Pressing/releasing the button temporarily changes the connection interval for connection. Press the button briefly and connect in 60 sec. If you don't have time, press the button more often...
- The firmware checks all settings for compliance with Bluetooth SIG standards.
If the interval is more than 10 sec, it will set 10 sec as it is the maximum in the standard. So do other settings. However, not all BT adapters can work with 10 sec interval for connection.
- When working with BLE in Linux it is mandatory to change Bluez options and/or kernel patches!
Build Firmware
The GNU Arm Embedded Toolchain is used to build the firmware.
To work in Eclipse, use project import and install toolchain.path.
See this for more information on PHY62xx chips.