Colorful Note Borders Plugin for Obsidian
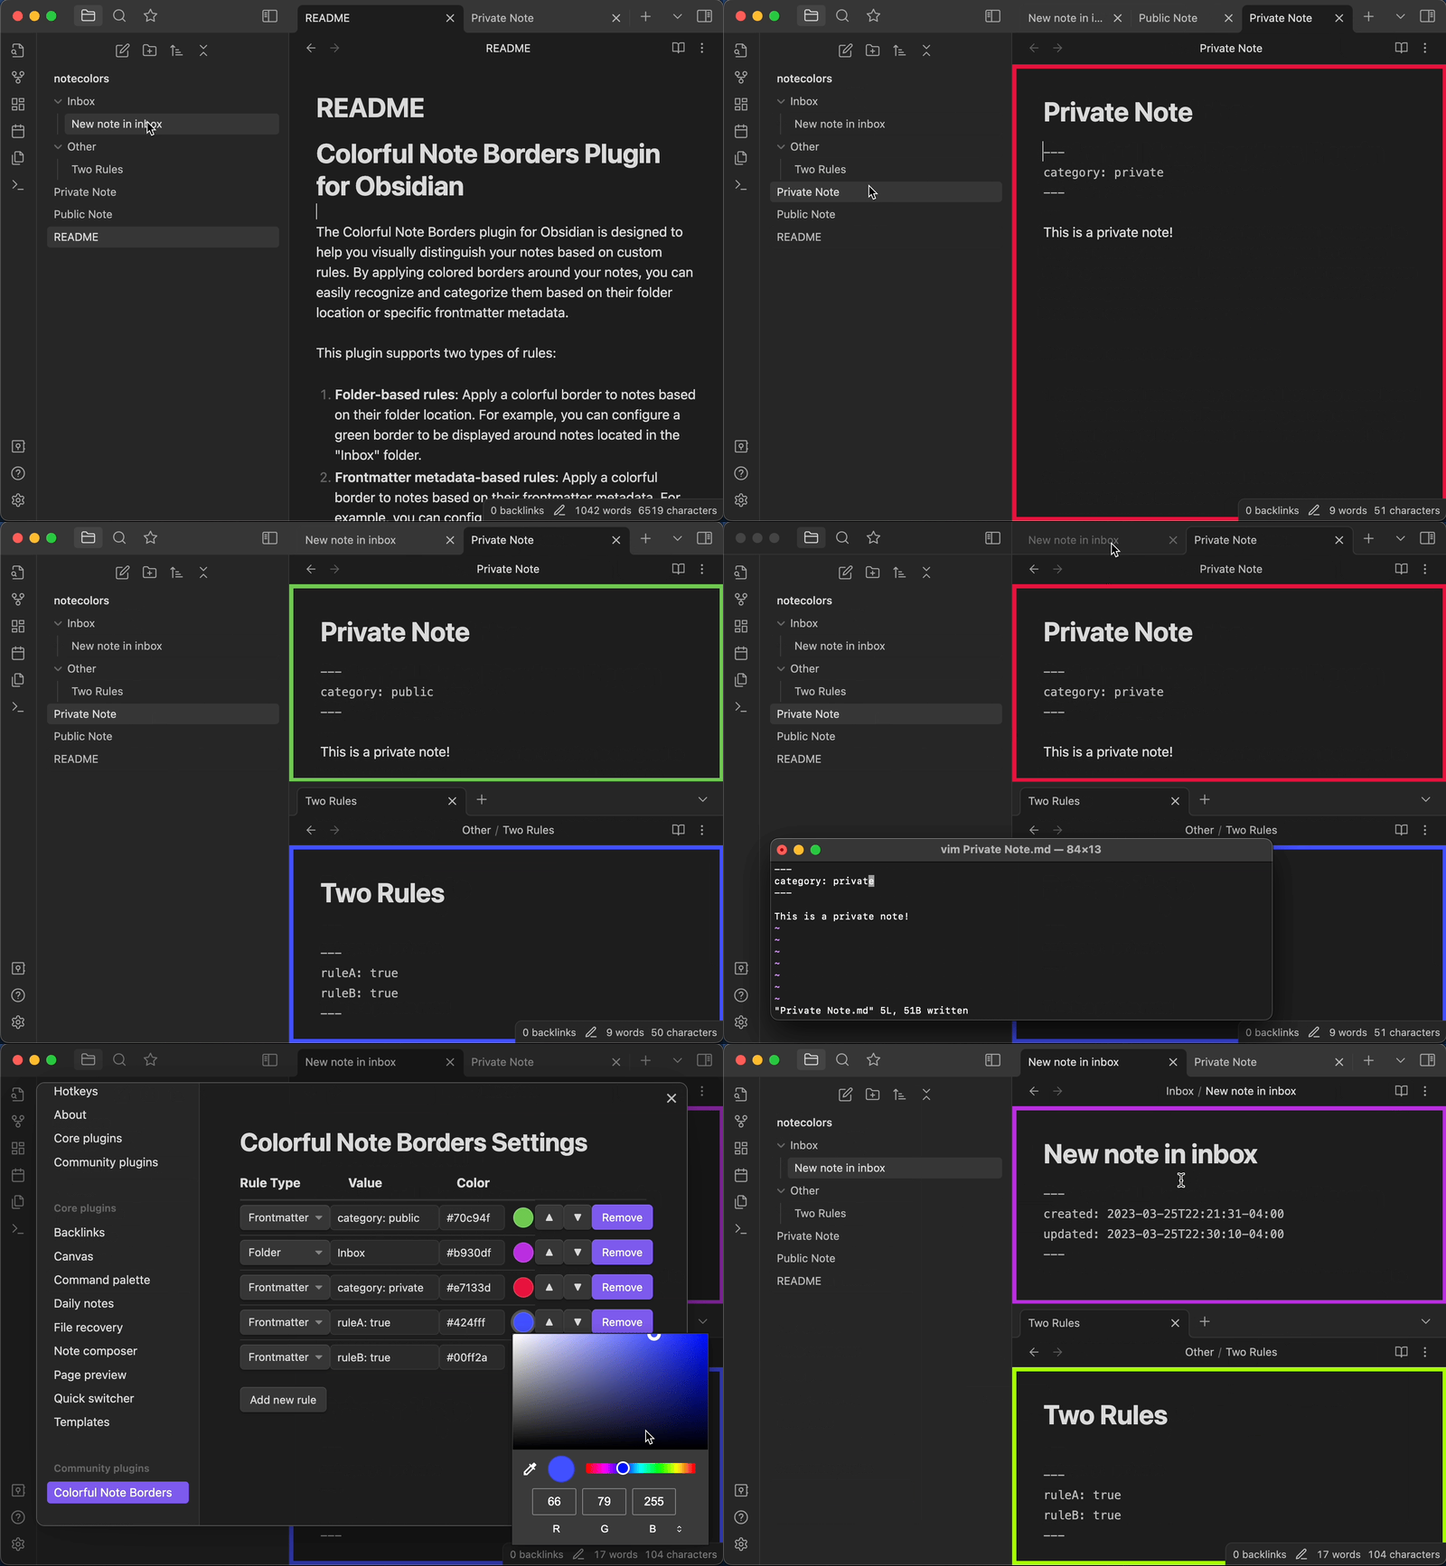
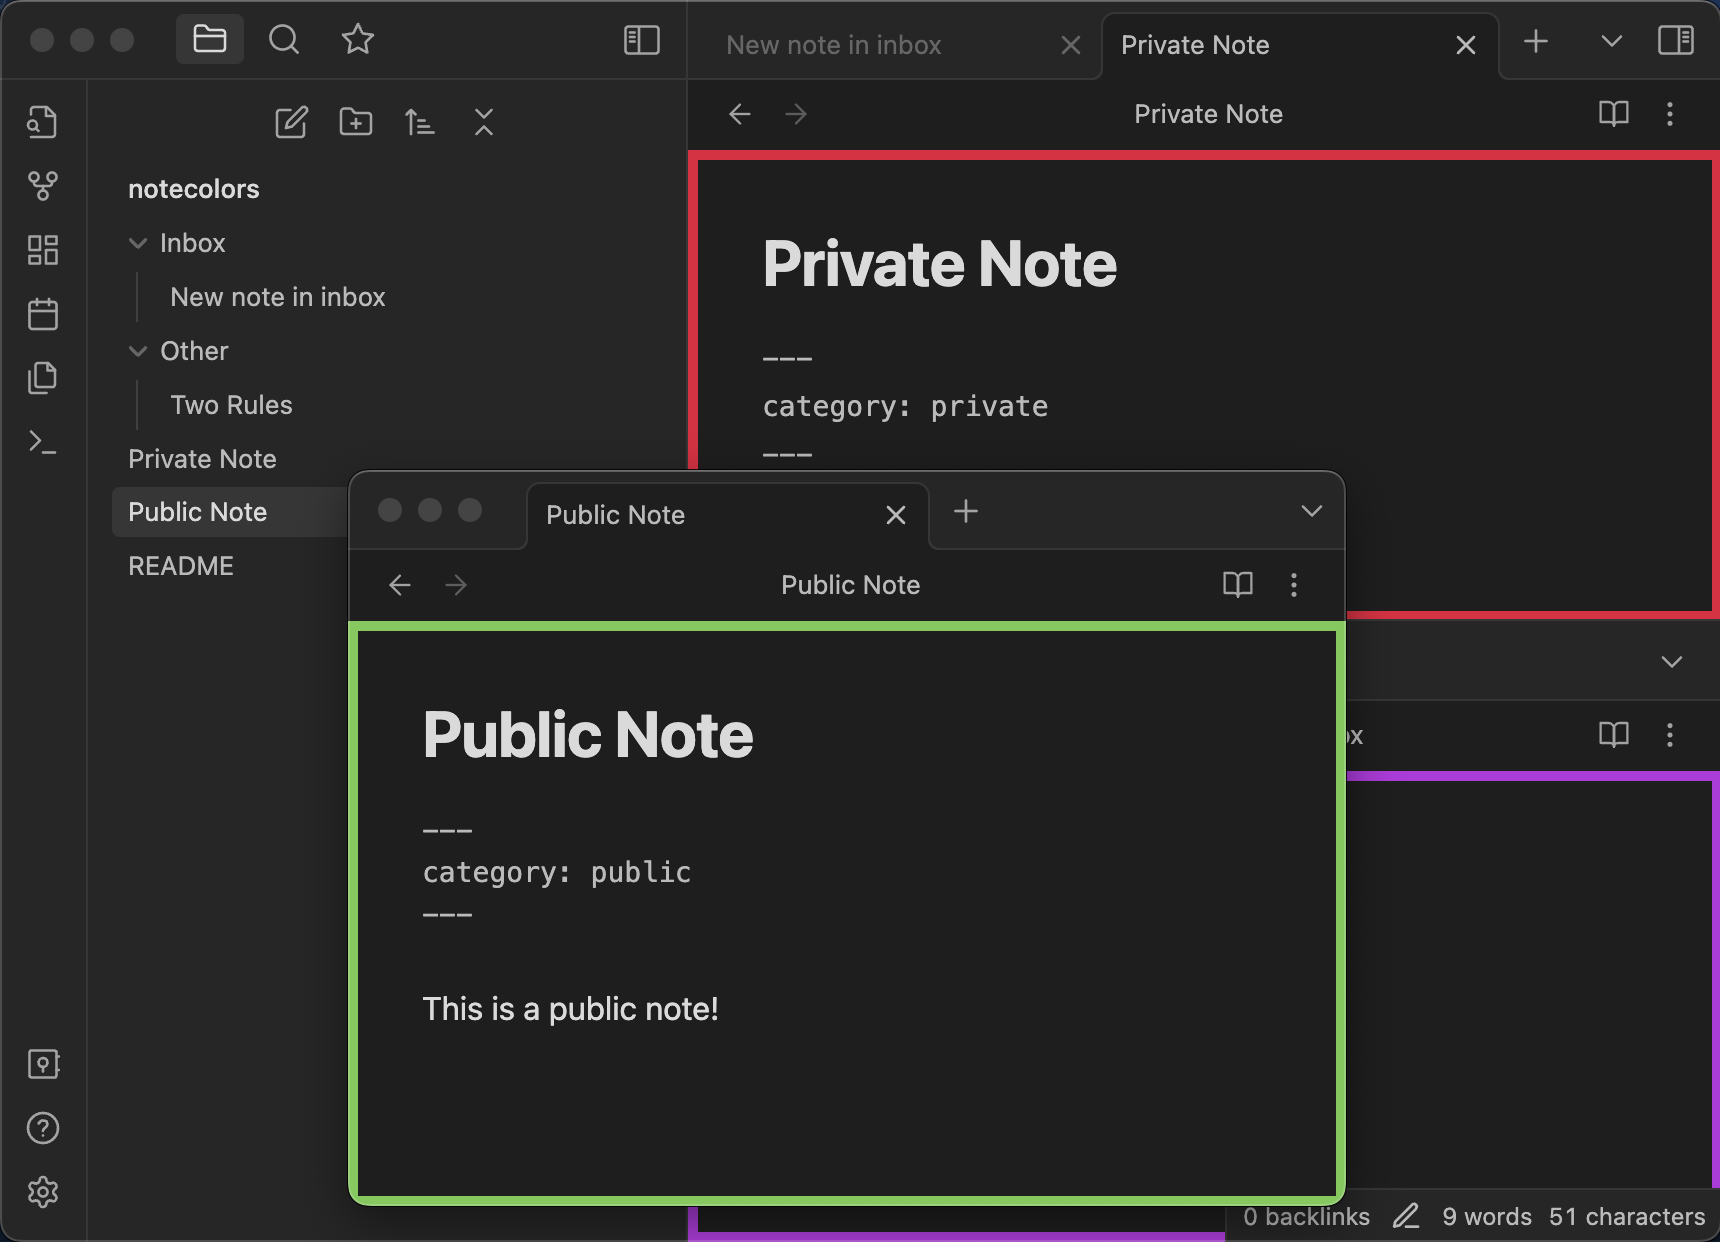
The Colorful Note Borders plugin for Obsidian is designed to help you visually distinguish your notes based on custom rules. By applying colored borders around your notes, you can easily recognize and categorize them based on their folder location or specific frontmatter metadata.
This plugin supports two types of rules:
- Folder-based rules: Apply a colorful border to notes based on their folder location. For example, you can configure a green border to be displayed around notes located in the "Inbox" folder.
- Frontmatter metadata-based rules: Apply a colorful border to notes based on their frontmatter metadata. For example, you can configure a red border to be displayed around notes that have "private: true" property in the frontmatter metadata.
By using the Colorful Note Borders plugin, you can create a more organized and visually appealing workspace in Obsidian. Customize your note appearance with an easy-to-configure settings page that allows you to define your color rules dynamically.
Demo


Features
The Colorful Note Borders plugin for Obsidian offers the following features:
- Apply colorful borders to notes based on customizable rules.
- Supports two types of rules:
- Folder location
- Frontmatter metadata
- Users can add, edit, and remove rules from the settings page.
- Users can re-order the rules to prioritize which rule takes precedence when multiple rules match. The first rule takes precedence.
- Compatible with Obsidian's light and dark modes.
Installation
To install the Colorful Borders plugin, follow these steps:
- Open your Obsidian vault
- Go to the Settings page (click the gear icon in the left sidebar)
- Navigate to Third-party plugins and make sure the "Safe mode" toggle is off
- Click "Browse" and search for "Colorful Note Borders"
- Click "Install" on the Colorful Note Borders plugin
- After the installation is complete, click "Enable" to activate the plugin
Manual Installation using BRAT
BRAT (Beta Reviewers Auto-update Tester) is a plugin for Obsidian that allows you to install and manage plugins that are not yet approved and included in the Obsidian Plugin Directory. You can use BRAT to install the Colorful Borders plugin manually.
Prerequisites
- Obsidian 0.9.7 or later
Installation Steps
- Open your Obsidian vault.
- Go to the Settings page (click the gear icon in the left sidebar).
- Navigate to Third-party plugins and make sure the "Safe mode" toggle is off.
- Click "Browse" and search for "BRAT".
- Click "Install" on the BRAT plugin.
- After the installation is complete, click "Enable" to activate the BRAT plugin.
- Navigate to Plugin Options and click on "BRAT".
- In the "Plugin Repository URL" field, enter the GitHub repository URL for the Colorful Borders plugin (
https://github.com/rusi/obsidian-colorful-note-borders). - Click "Add plugin".
- Click "Update plugins" to download and install the Colorful Note Borders plugin.
- Navigate to Third-party plugins in the Obsidian settings.
- Find the Colorful Note Borders plugin in the "Installed plugins" list and click "Enable" to activate it.
Now the Colorful Note Borders plugin should be installed and activated. Follow the usage instructions in the previous sections to configure the plugin.
Usage
To configure the Colorful Note Borders plugin, follow these steps:
- Go to the Settings page in your Obsidian vault
- Navigate to Plugin Options and click on "Colorful Note Borders"
- In the settings page, you can add or remove rules by clicking the "Add new rule" button or the "Remove" button next to each rule
- Configure each rule by providing:
- A name for the rule
- A value to match (e.g., folder name or frontmatter metadata value)
- The rule type (either "Path" for folder location or "Frontmatter" for frontmatter metadata)
- A color for the border (use the color picker or enter a color hex code)
- Save your settings
The plugin will automatically apply the colorful borders to your notes based on the rules you've configured. If a note matches a rule, the border will be displayed around the note's content.
Support
If you encounter any issues or have feature requests, please create an issue on the plugin's GitHub repository.
License
This plugin is licensed under the MIT License. For more information, see the LICENSE file in the plugin's GitHub repository.