![]()
visit our website wpack.io for documentation and usage
wpack.io - Modern JavaScript tooling for WordPress
![]()
![]()

![]()
![]()

![]()
What is wpack.io?
Put simply, wpack.io is a nodejs based build tool to ease up using modern javascript in WordPress Themes and Plugins. It gives a fine Developer Experience (DX) and a single dependency for all your bundling requirement.
It is a fine-tuned webpack/browser-sync configuration made specifically for WordPress Theme and Plugin Development.
With the rise of Gutenberg editor, the usage of modern JavaScript and libraries like react is imminent. The goal of this tooling is to:
- ✅ Provide out of the box compiling and bundling of all front-end assets.
- ✅ Give best in class Developer Experience (DX).
- Hot Module Replacement and Live Reload.
- Compile files on save.
- Work on any local development server.
- ✅ Support modern and useful concepts like modules, tree-shaking, dynamic import etc.
and eliminate the pain points such as:
- ❌ Boilerplate for setting up your project.
- ❌ Doing a lot of configuration to setup webpack.
- ❌ A lot of things to hook webpack with browsersync. We can not safely have webpack dev server because it doesn't reload for PHP files.
- ❌ A lot of dependencies like babel, webpack loaders and what not.
What is supported out of the box
- 👉 Have Create React App like developer experience for WordPress Plugin/Theme development.
- 👉 Consume all the modern packages from npm registry.
- 👉 Write javascript with modern ES2018 (ES6+) syntax and compile it down to ES5 (or in accordance to your
.browserslistrc). - 👉 Automatically minify and bundle code with webpack.
- 👉 Split large files automatically and have PHP library to
wp_enqueue_scriptall generated parts. - 👉 Use SASS/SCSS language to create stylesheets.
- 👉 Use postcss autoprefixer to automatically make your CSS work with needed vendor prefixes.
- 👉 Implement all the above to your existing wamp, mamp, vvv (basically any) dev server.
- 👉 Create production grade, super optimized and minified files with one command (hello CI).
Here are a few more bonus you get for using wpackio.
- 😎 Using ES6 Modules you will never run into namespace collision.
Remember when that third-party plugin was using that old version of
foolibrary which caused your system to completely fail? No more!. - 😎 Zero configuration for a sane default of all the tooling involved (babel, sass, webpack).
- 😎 Your CSS/SCSS changes will reflect instantly.
- 😎 Typescript and Flowtype to take your js carrier to the next level. This tooling itself is written in typescript 😉.
- 😎 All the stuff you need to start developing using react. Hello Gutenberg!
Getting Started
Everything is documented in our website.
TL;DR
- Add
@wpackio/scriptsto a project by running this.npx @wpackio/cliand after that
npm run bootstrap - Edit the
wpackio.project.jsfile to write your javascript entry-points. - Use
wpackio/enqueuefrom composer to consume the assets. - Start the server using
npm start. - Create production file using
npm run build.
How wpack.io solves the problems?
Behind the scene wpack.io uses webpack along with browsersync.
It doesn't concern itself with providing boilerplate or starter templates. It
assumes that you (the awesome developer 👨💻 || 👩💻) is already doing that and what you
want is a simple to configure, yet hackable to the core tooling for bundling
all your frontend assets (js, css, images, svgs) in the most optimized way and
make it work within your WordPress theme or plugin.
Keeping that in mind, wpack.io provides three dependencies for your projects:
@wpackio/entrypoint- As main dependency of yourpackage.json.@wpackio/scripts- As main dev dependency of yourpackage.json.wpackio/enqueue- As main dependency of yourcomposer.json.
The first handles all the tasks for building the assets and providing a damn good DX.
The second handles enqueuing the assets using WordPress' API (wp_enqueue_script
and wp_enqueue_style).
Both the tools communicate with each other through the means of manifest.json
file. The first tell the later which files to consume and the later publicPath
to the first.
See it in action
We have examples inside examples directory of this repo. Each of them has instructions in the readme file, so be sure to check out.
npx @wpackio/cli
Add wpack.io into any existing or new project. This command has to be run from within the project.

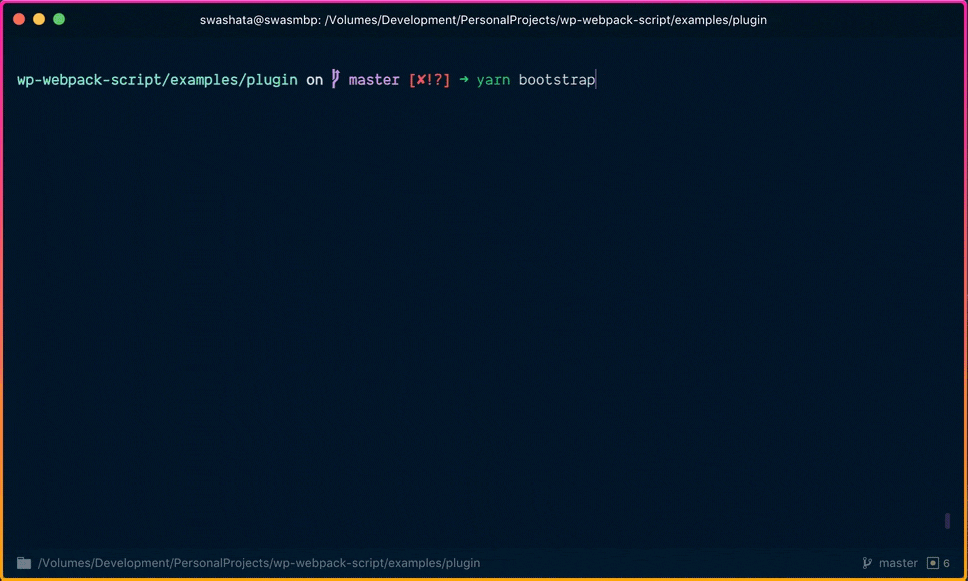
npm run bootstrap / yarn bootstrap
Bootstrap needed dependencies, dev dependencies according to the type of your
project. This command is enabled by npx @wpackio/cli.
Setup JS entry-points
Talking about example in plugins, we setup the entry-points
in wpackio.project.js file.
module.exports = {
    // Project Identity
    appName: 'wpackplugin', // Unique name of your project
    type: 'plugin', // Plugin or theme
    slug: 'wpackio-plugin', // Plugin or Theme slug, basically the directory name under `wp-content/<themes|plugins>`
    // Used to generate banners on top of compiled stuff
    bannerConfig: {
        name: 'WordPress WebPack Bundler',
        author: 'Swashata Ghosh',
        license: 'GPL-3.0',
        link: 'https://wpack.io',
        version: '1.0.0',
        copyrightText:
            'This software is released under the GPL-3.0 License\nhttps://opensource.org/licenses/GPL-3.0',
        credit: true,
    },
    // Files we need to compile, and where to put
    files: [
        // App just for showing react
        {
            name: 'reactapp',
            entry: {
                main: ['./src/reactapp/index.jsx'],
            },
        },
    ],
    // Output path relative to the context directory
    // We need relative path here, else, we can not map to publicPath
    outputPath: 'dist',
    // Project specific config
    // Needs react?
    hasReact: true,
    // Needs sass?
    hasSass: true,
    // Externals
    externals: {
        jquery: 'jQuery',
    },
    // Webpack Aliases
    alias: undefined,
    // Show overlay on development
    errorOverlay: true,
    // Auto optimization by webpack
    // Split all common chunks with default config
    // <https://webpack.js.org/plugins/split-chunks-plugin/#optimization-splitchunks>
    // Won't hurt because we use PHP to automate loading
    optimizeSplitChunks: true,
    // Usually PHP and other files to watch and reload when changed
    watch: 'inc/**/*.php',
    // Hook into babeloverride so that we can add react-hot-loader plugin
    jsBabelOverride: defaults => ({
        ...defaults,
        plugins: ['react-hot-loader/babel'],
    }),
};
Setup PHP Library to consume build files
Now we do
composer require wpackio/enqueueto install PHP Consumer Library.
We instruct it to load files the right way (using WordPress APIs like
wp_enqueue_script and wp_enqueue_style).
<?php
/*
Plugin Name: WPackIo Sample
Plugin URI: https://wpack.io
Description: A sample to demonstrate wpackio
Version: 0.1.0
Author: Swashata Ghosh
Author URI: https://swas.io
Text Domain: wpack-io
Domain Path: /languages
*/
// Assuming this is the main plugin file.

// Require the composer autoload for getting conflict-free access to enqueue
require_once __DIR__ . '/vendor/autoload.php';

// Do stuff through this plugin
class MyPluginInit {
    /**
     * @var \WPackio\Enqueue
     */
    public $enqueue;

    public function __construct() {
        // It is important that we init the Enqueue class right at the plugin/theme load time
        $this->enqueue = new \WPackio\Enqueue( 'wpackplugin', 'dist', '1.0.0', 'plugin', __FILE__ );
        // Enqueue a few of our entry points
        add_action( 'wp_enqueue_scripts', [ $this, 'plugin_enqueue' ] );
    }

    public function plugin_enqueue() {
        // Enqueue the `main` entry from `reactapp` file entry.
        $this->enqueue->enqueue( 'reactapp', 'main', [] );
    }
}

// Init
new MyPluginInit();
npm start / yarn start
After configuring all entry-points and using the PHP library for consuming, we start the development server.
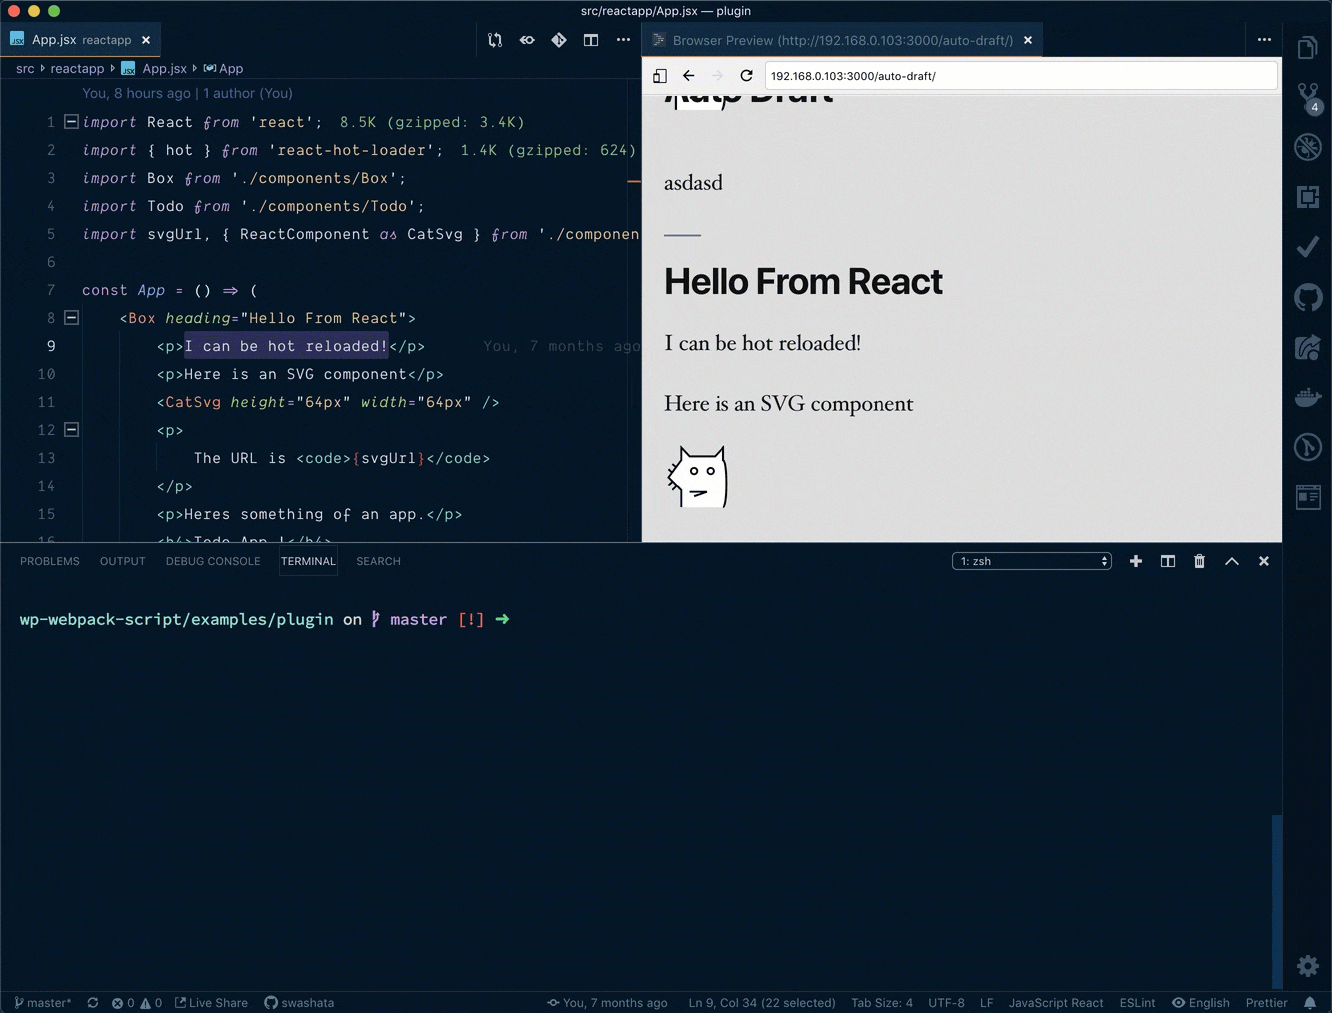
HMR
We edit the files and with proper setup, we can see things load live, without page refresh. It is called, Hot Module Replacement (HMR).
In the above image we see, we are changing the label of from Todo App to
Awesome todo. The changes are reflected live on the page, without any page-reload.
Stop Dev Server
Once done, we press Ctrl + c to stop it.
npm run build / yarn build
Now we create production build.
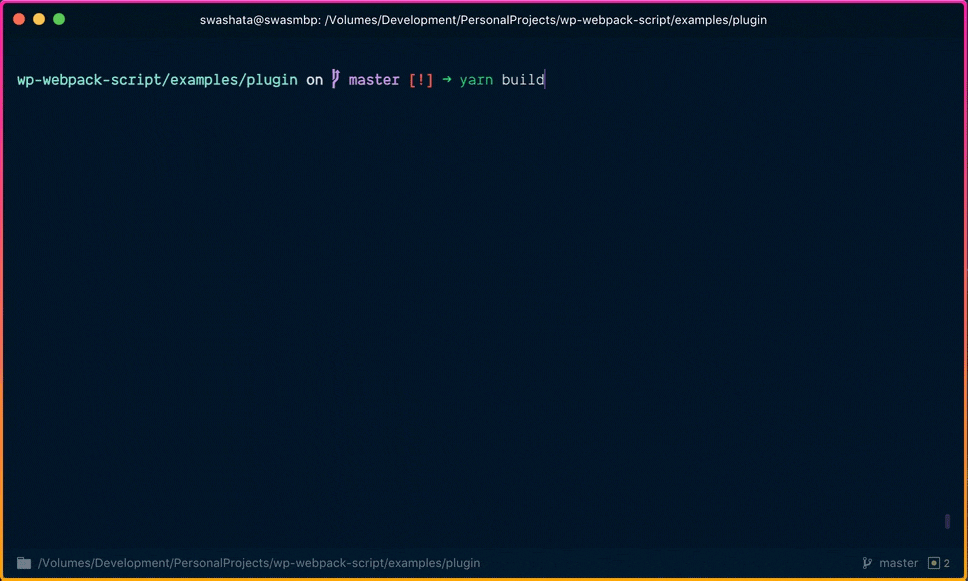
Our plugin/theme is now ready to go live.
Learn more
This Readme is not an extensive source of documentation. Please visit our website wpack.io to learn more.
Contributors
This project exists thanks to all the people who contribute. [Contribute].
Backers
Thank you to all our backers! 🙏 [Become a backer].

Sponsors
Support this project by becoming a sponsor. Your logo will show up here with a link to your website. [Become a sponsor]. (please ask your company to also support this open source project by becoming a sponsor).
![]()
![]()
![]()
![]()
![]()
![]()
![]()
![]()
![]()
![]()