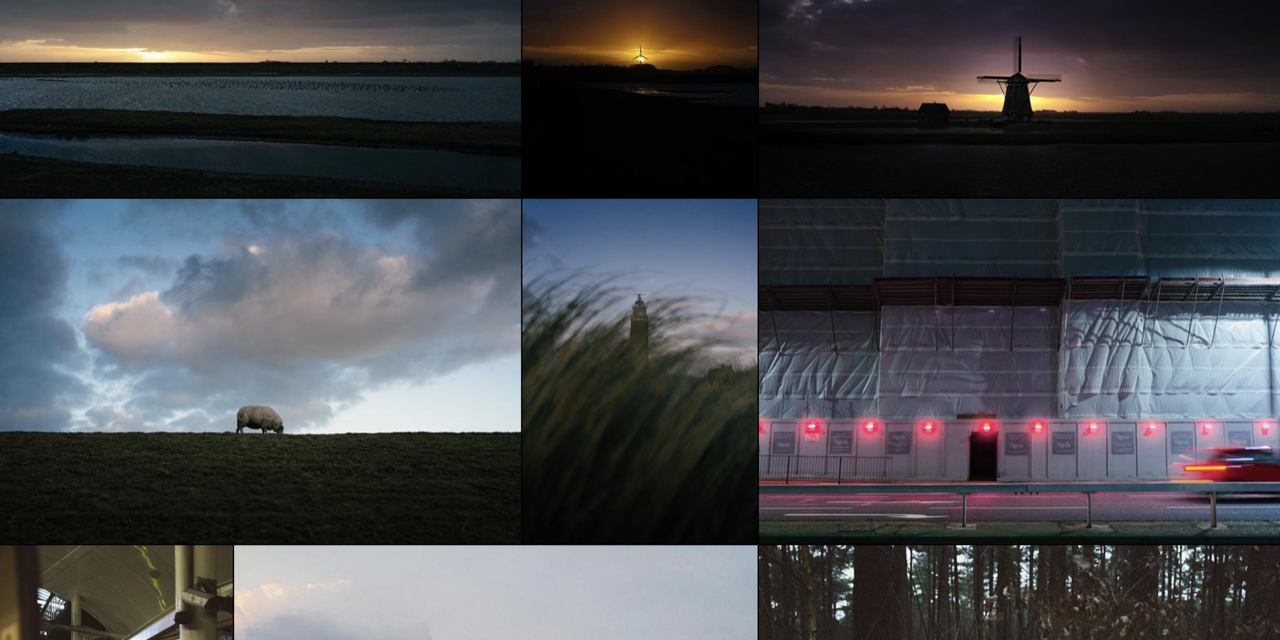
Photo Stream
Photo Stream is a simpler home for your photos initially created by @maxvoltar and now maintained by @waschinski, @boerniee and friends. Easy to use, self hosted, no tracking, just photos.
Demo
There is a demo of this repository hosted on a Free Plan on Render.
Live Examples
Features
- Lazy loading
- Only load larger resolutions when needed (to save on bandwidth)
- Supports PNG, JPG, JPEG, GIF and WebP files
- Photo tints
- Keyboard shortcuts
- Unique URL's for photos
- RSS feed (Which you can plug into IFTTT and set up auto-posting to most social networks, like @maxvoltar has done here. Make sure you select "Post a tweet with image" when setting it up to embed the photo.)
- Drag, drop, commit workflow (learn more about how to add photos to your stream)
- Optimized light and dark themes (auto-enabled depending on your OS preferences)
- Optional: Links to your social networks
Why?
We like to take photos and share them. Problem is it's hard to really own your photos and how they're represented across social media these days, so we set out to make a place for them. You host it yourself, wherever you want (Netlify, Github Pages...), you're in control.
How to install
Previously the recommended way to install Photo Stream was to fork the repository. In my opinion this was not really optimal and being a fan of Docker I began working on optimizations to run Photo Stream in a container. That's why configuration has been moved from _config.yml to .env so when switching from the initial repo you will have to set up the .env file accordingly.
Using Docker
There is an image over at Docker Hub which you can pull using:
docker pull waschinski/photo-stream:latestAlternatively download the docker-compose.yml file, change the configuration as needed and use the following command to get Photo Stream running:
docker-compose up -dThe photos folder can be mounted as a volume. Make sure to put your photos in a folder called original.
Using Docker on Raspberry Pi (linux/arm/v6 only):
Prerequisites : docker and docker-compose are installed on RPI
In docker-compose.yml comment image section, uncomment build section, and setup BASE_IMAGE arg to arm32v6/ruby:3.1.2-alpine3.16.
Then docker-compose build
Then docker-compose up -d
Manually
Grab the latest version from the release page and extract it.
Make sure you meet the following requirements in order to run Photo Stream:
Build tools
How to install these depends on your OS. Debian users will go with sudo apt-get install build-essential while on MacOS you should be fine with xcode-select --install.
Ruby (v3+ recommended)
Check to see if you already have Ruby installed (ruby -v). If you don't, you can follow the installation instructions provided here.
libvips
Instructions on how to install libvips can be found here.
Jekyll
Next you'll have to install Jekyll (a simple gem install bundler jekyll should suffice). Make sure you meet its requirements or install them as well before proceeding.
Once all these requirements are met you can finally install all the gems required by Photo Stream (you should be in the Photo Stream folder):
bundle installHow to deploy directly
on Render
Fork this repo and add your own photos to the photos/original folder. Log in to your Render account or create a new one. Create a new static site on the Render Dashboard. Connect your Github account and select your photo-stream repository. Select the correct branch and adjust the Build Command (bundle exec jekyll build) and Publish Directory (_site). Under Advanced you Add Secret File and create a .env file containing your adjusted environment variables. You might be able to change this file directly in your repo and skip the former step (adding a secret file) but I haven't tested this.
How to use
Put your photos (not resized) in the photos/original directory. Optionally you can give them a name, which will appear as the title of the photo page and in the RSS feed.
This command will serve the static page on your local machine. http://localhost:4000
bundle exec jekyll serveYou can also statically build your site to be uploaded to a regular webhost.
bundle exec jekyll buildNow upload the contents of the _site/ directory to your webserver.
Automating the build & upload with rsync or lftp
Just execute the script you need to run directly from the _scripts folder like that:
sh ./_script/build-n-lftp.shbuild.sh will build your site while rsync.sh and lftp.sh will sync it accordingly. build-n-rsync.sh and build-n-lftp.sh are simply doing both steps in one. Don't forget to add your sync configuration in the .env file.
Customize
Basics
First thing you want to do is edit a couple of things in /.env:
TITLE: The title of your photo stream.EMAIL: Your email address (this line is optional, you can remove it).AUTHOR_NAME: Your name.AUTHOR_EMAIL: Your email address (optional).AUTHOR_WEBSITE: Your website (could be the address of this photo stream).DESCRIPTION: Description of your photo stream.BASEURL: Should be left empty or removed ⚠️ Do not change unless you know what you're doingURL: Where will this photo stream live (example:https://maxvoltar.photo), must NOT end with / or links will be messed up.SHOW_RSS_FEED: Set to either1or0to enable or disable showing the RSS feed button.SHOW_OFFICIAL_GITHUB: Set to either1or0to enable or disable showing the link to the official github repository.DEFAULT_REVERSE_SORT: Set this to1to reverse the photo sort order and show oldest photos first. Defaults to0.ALLOW_ORDER_SORT_CHANGE: Set this to1to allow users to reverse the sort order of the photos.ALLOW_ORIGINAL_DOWNLOAD: Set this to1to allow users to download the photos in their original size.ALLOW_INDEXING: Set this to0to prevent crawlers from indexing your photo stream by adding meta tagrobots. Defaults to1.ALLOW_IMAGE_SHARING: Set this to1to allow users to share images with friends. Defaults to1.TWITTER_USERNAME: Your Twitter username or remove/comment this line.GITHUB_USERNAME: Your Github username or remove/comment this line.INSTAGRAM_USERNAME: Your Instagram username or remove/comment this line.SYNCUSER: Your username being used by lftp/rsync in the shell scripts to sync your site to your webserver.SYNCPASS: Your password being used by lftp/rsync in the shell scripts to sync your site to your webserver.SYNCSERVER: The URL of your webserver being used by lftp/rsync in the shell scripts where your site will be synced to.SYNCFOLDER: The folder on your webserver being used by lftp/rsync in the shell scripts where your site will be synced to.
Don't include the @-part of your social handles. Links to your Github, Twitter and Instagram profiles are only shown when set.
Advanced
Before publishing your website, Jekyll will resize your photos into 3 different buckets:
/photos/large: These are only shown when a user navigates to a photo page. By default these are resized to a maximum of 2048 wide and 2048 tall. If you wish, you can change these by changing the values in/_config.yml(by default they look something like this:resize_to_limit: [2048, 2048])./photos/thumbnail: These are used in the grid. Photo Stream will load all thumbnails above the fold, then more as you scroll down; all to save bandwidth. Standard size for these is 640 by 640 (max), but you can also change this if needed./photos/tint: What you see while the page loads its first batch of thumbnails, also used as the background for photo pages. ⚠️ Do not make changes to the tint versions in your config file.