multilingual-chatbot
Based on a Think 2018 lab session:
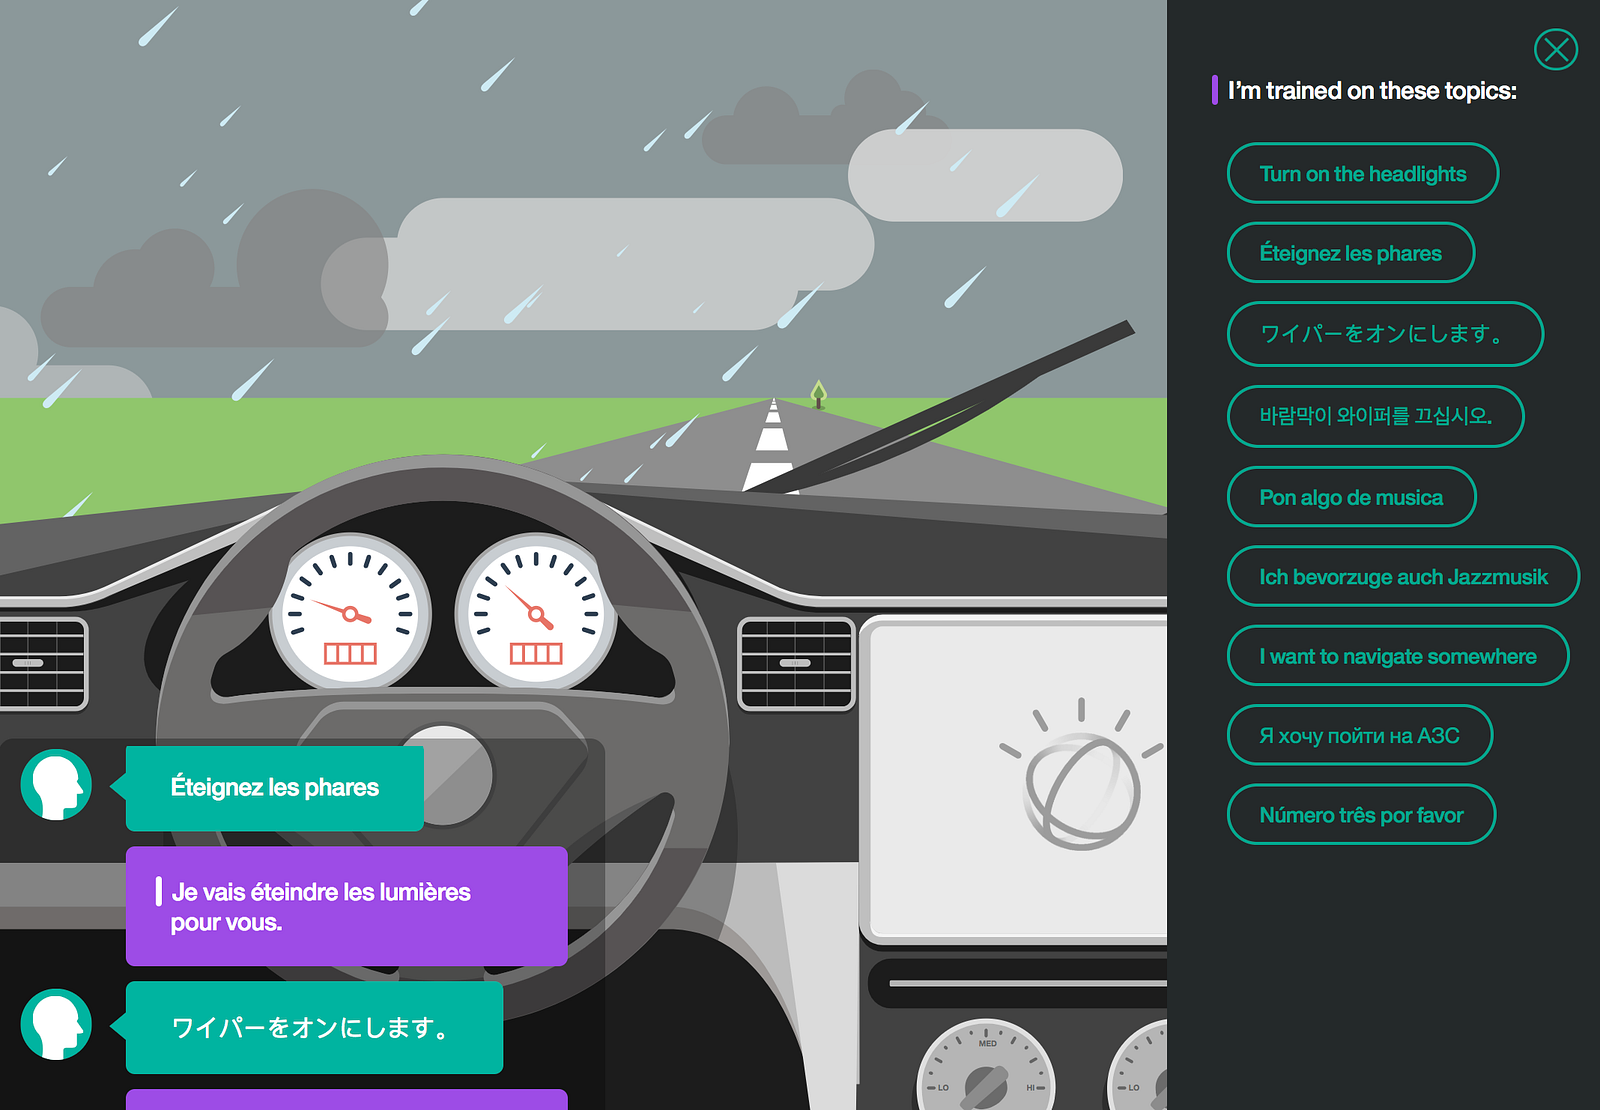
Watson Assistant + Watson Language Translator to create a multilingual chatbot
Setup
Verify that your system satisfies the dependencies below:
Make sure the Cloud Functions plug-in is installed
bx plugin install cloud-functionsCreate a python environment with conda
conda env create -f environment.ymlActivate the environment
source activate watson1. Create Watson services
Sign up for an IBM Cloud account at https://cloud.ibm.com
Watson Language Translator
From the dashboard, click on Create resource and search for Language Translator.
Provision an instance of Language Translator under the Lite plan.
Create a set of credentials by clicking Service credentials > New credential > Add.
Grab the value for apikey of the newly created IAM credential.
Store this in the file etc/params.json under "translator_apikey".
Watson Assistant
From the dashboard, click on Create resource and search for Watson Assistant.
Provision an instance of Watson Assistant under the Lite plan.
Create a set of credentials by clicking Service credentials > New credential > Add.
Grab the value for apikey of the newly created IAM credential.
Store this in the file etc/params.json under "assistant_apikey".
Click Launch Tool.
Create a new skill by clicking on Create a Skill > Create new > Import skill >
and upload car_workspace.json
with the option Everything.
From the Skills page of the tool, click the three dots,
then View API Details to get the Workspace ID.
Store this in the file etc/params.json under "assistant_workspace_id".
Once Watson has finished training, you may test out interacting with the assistant by clicking on Try it on the right side of the page.
Challenge: try editing your workspace to customize the flows and responses.
2. Deploying your Cloud Function
Configure the Bluemix CLI
Login in to your account (follow the prompts)
bx loginTarget the organization and space that contains your services (follow the prompts)
bx target --cfDeploy the action
Make sure you are in the multilingual-chatbot directory.
Run the deployment script to package and update your cloud function
./deploy_cloudfunction.shBinding your Watson services
Bind the parameters you have defined to the deployed cloud function
bx wsk action update translator --param-file etc/params.jsonVerify that these values are available as parameters to your cloud function
bx wsk action get translator parametersSend a few sample requests
bx wsk action invoke translator --result
bx wsk action invoke translator --result --param text "hi there"
bx wsk action invoke translator --result --param text "hola amigo"
3. Run a full conversation
Get the namespace for your deployed cloud function
bx wsk action get translator namespaceRun the program. Experiment with switching between languages mid-conversation
python main.py --namespace <namespace>4. Integrate with an existing application
Make a standard HTTP POST request to interact with the cloud function from any application
curl -X POST -H "Content-Type: application/json" -d '{"text": "bonjour"}' https://openwhisk.ng.bluemix.net/api/v1/web/<namespace>/default/translator.jsonYou will see a response like this
{
  "context": "<content>",
  "intents": "<intents>",
  "language": "<language>",
  "message": "<message>",
  "output": "<output>"
}
On subsequent requests, make sure to pass that context variable back in, to continue the conversation where you left off
curl -X POST -H "Content-Type: application/json" -d '{"text": "jouer de la musique", "context": "<context>"}' https://openwhisk.ng.bluemix.net/api/v1/web/<namespace>/default/translator.json