YOLOv5 in tesnorflow2.x-keras
- yolov5数据增强jupyter示例
- Bilibili视频讲解地址: 《yolov5 解读,训练,复现》
- Bilibili视频讲解PPT文件: yolov5_bilibili_talk_ppt.pdf
- Bilibili视频讲解PPT文件: yolov5_bilibili_talk_ppt.pdf (gitee链接)
- yolov5 tflite android 部署
- yolov5 ncnn android 部署
模型测试
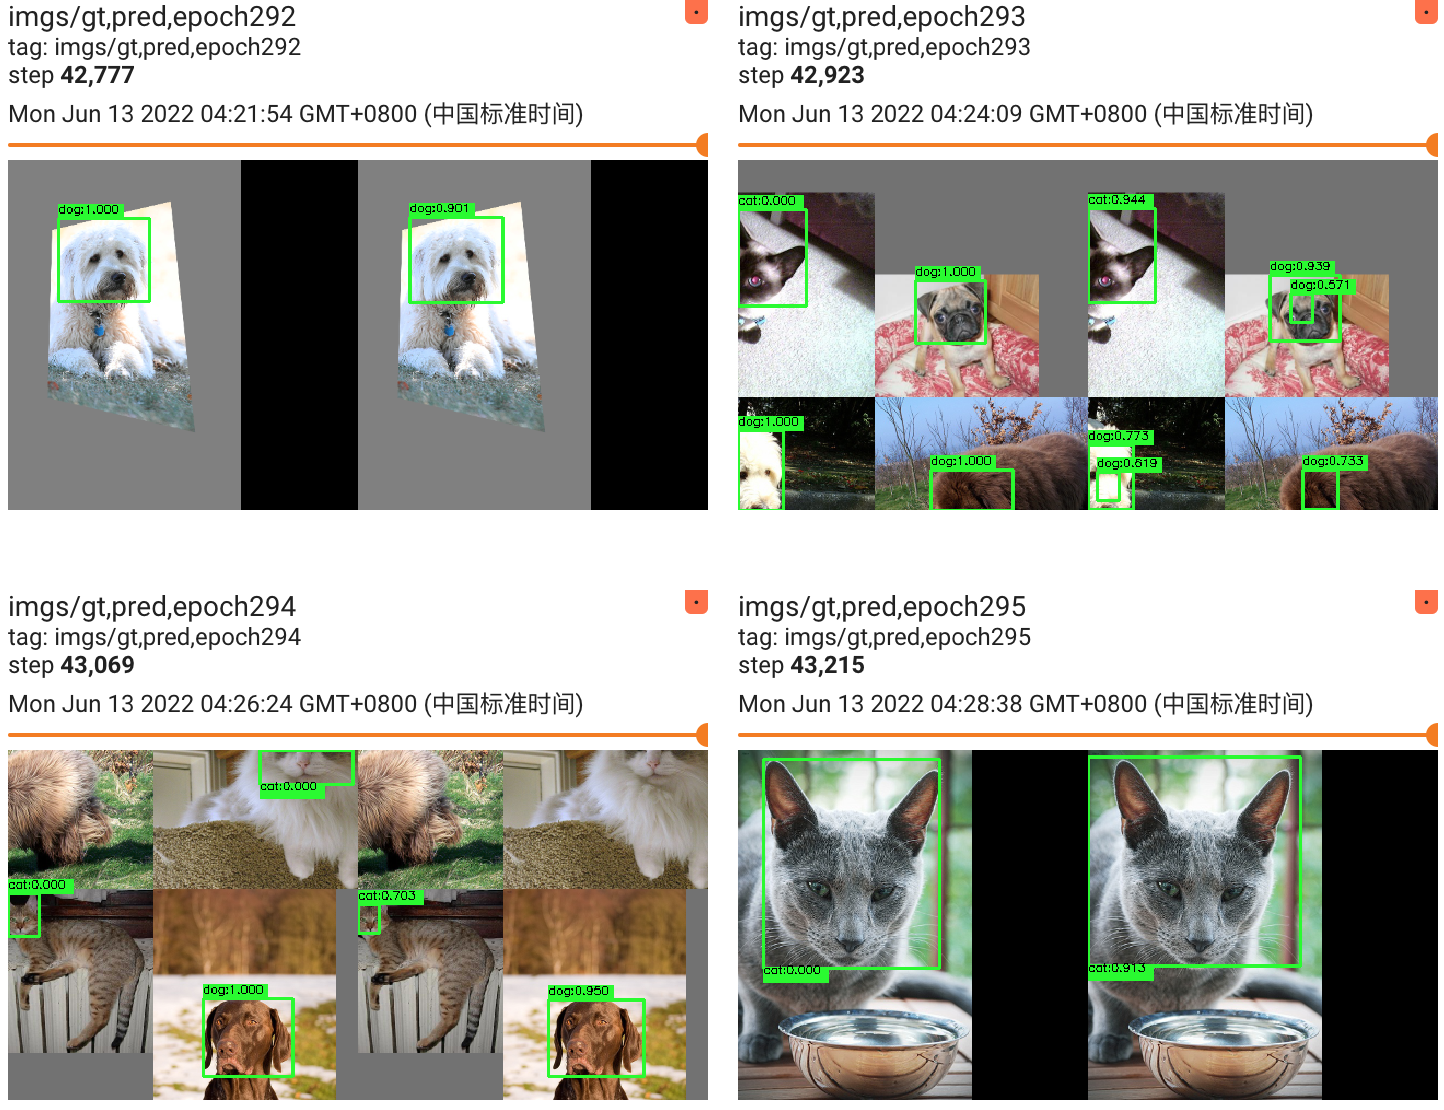
- 训练 猫狗检测 3.7k
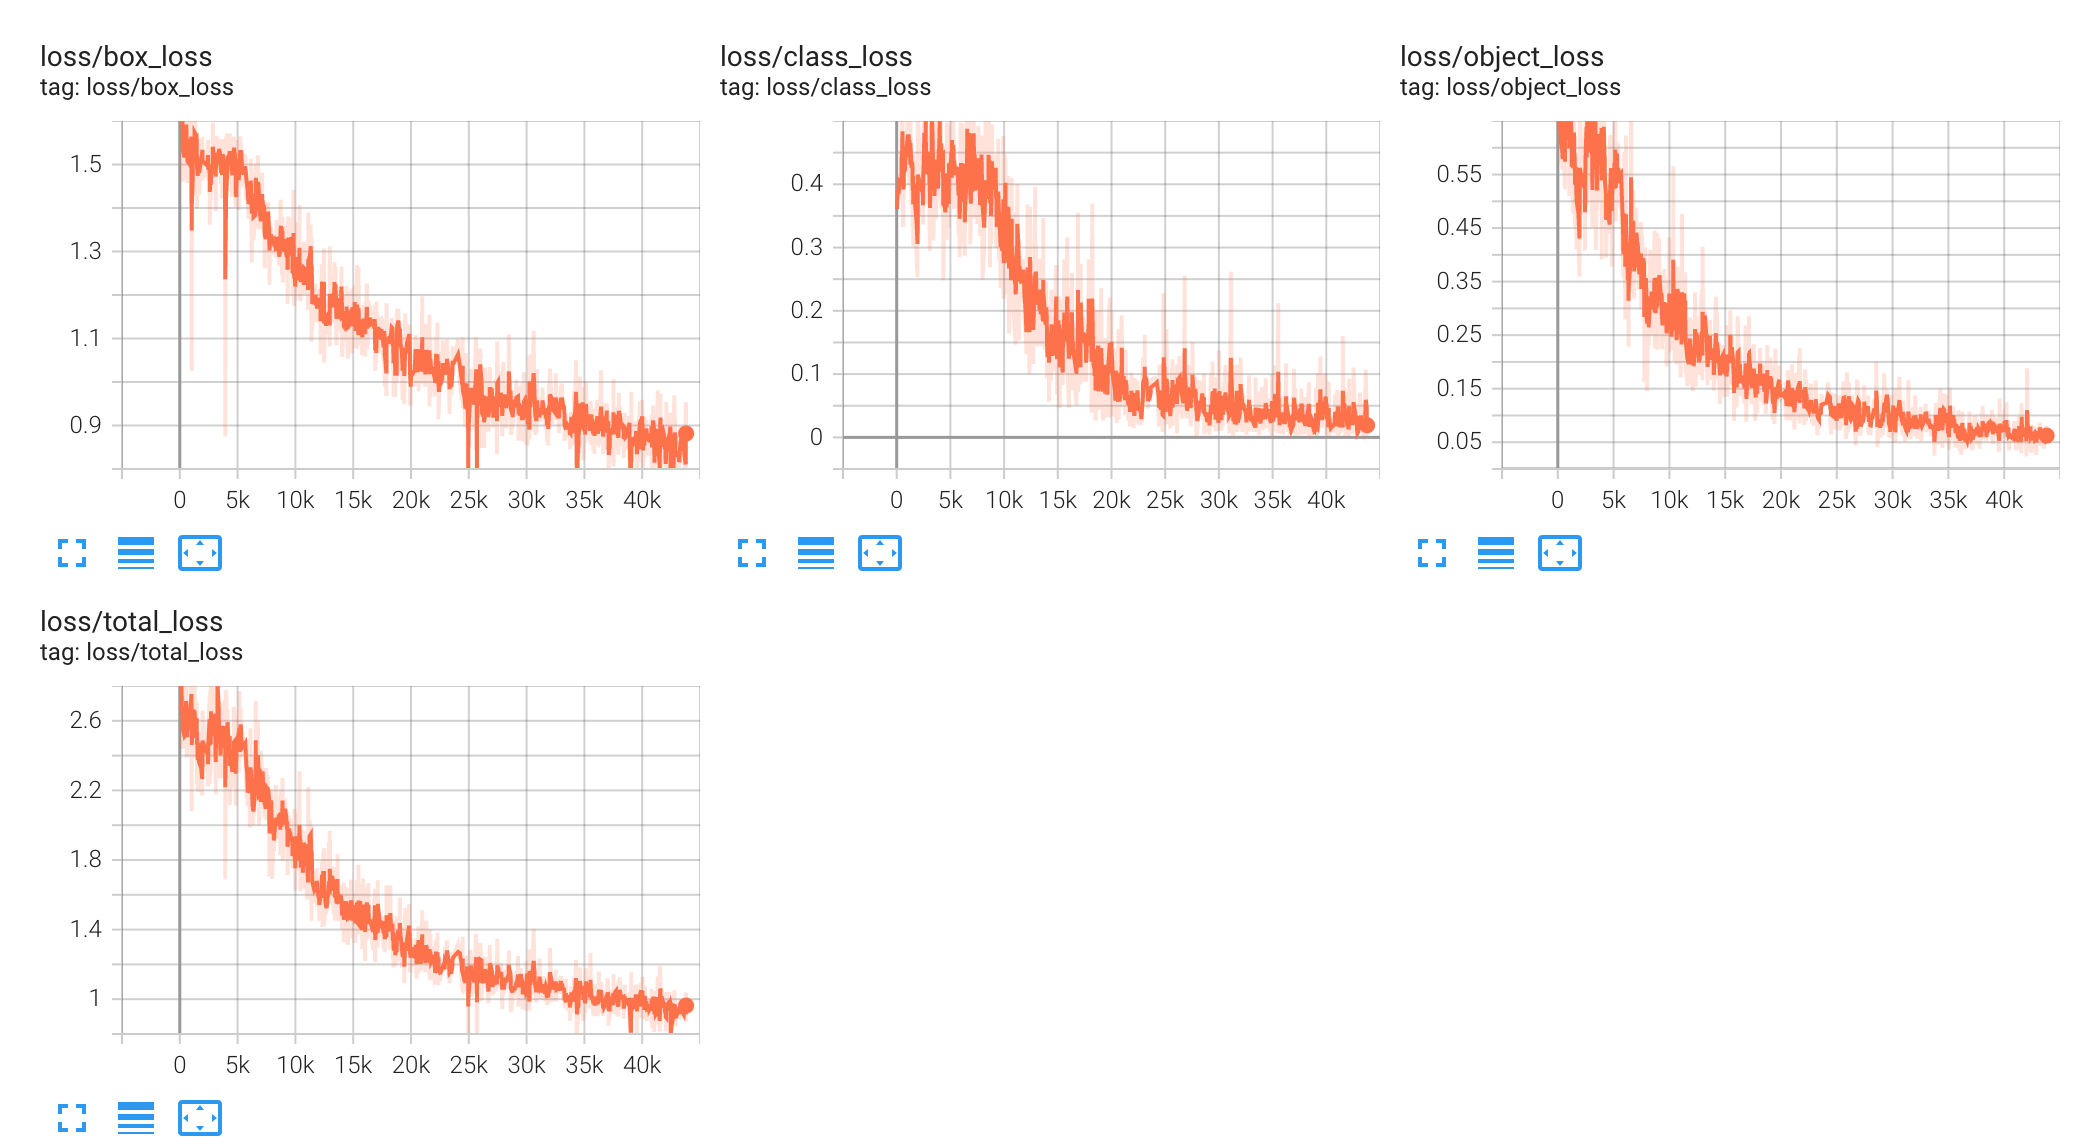
- 检测效果
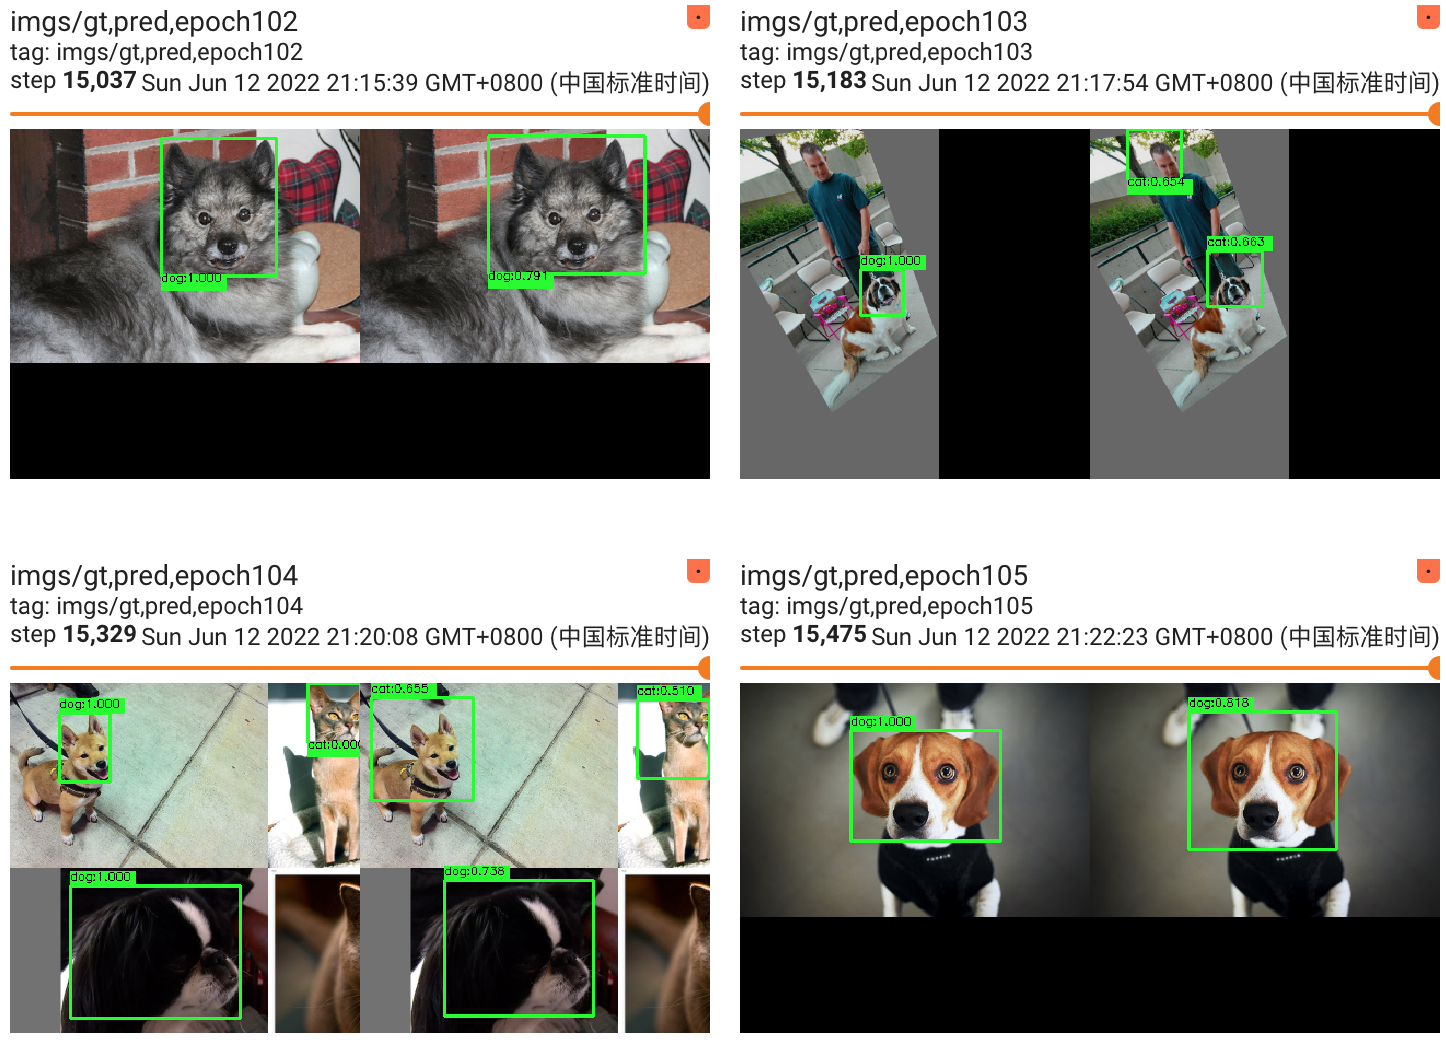 (
(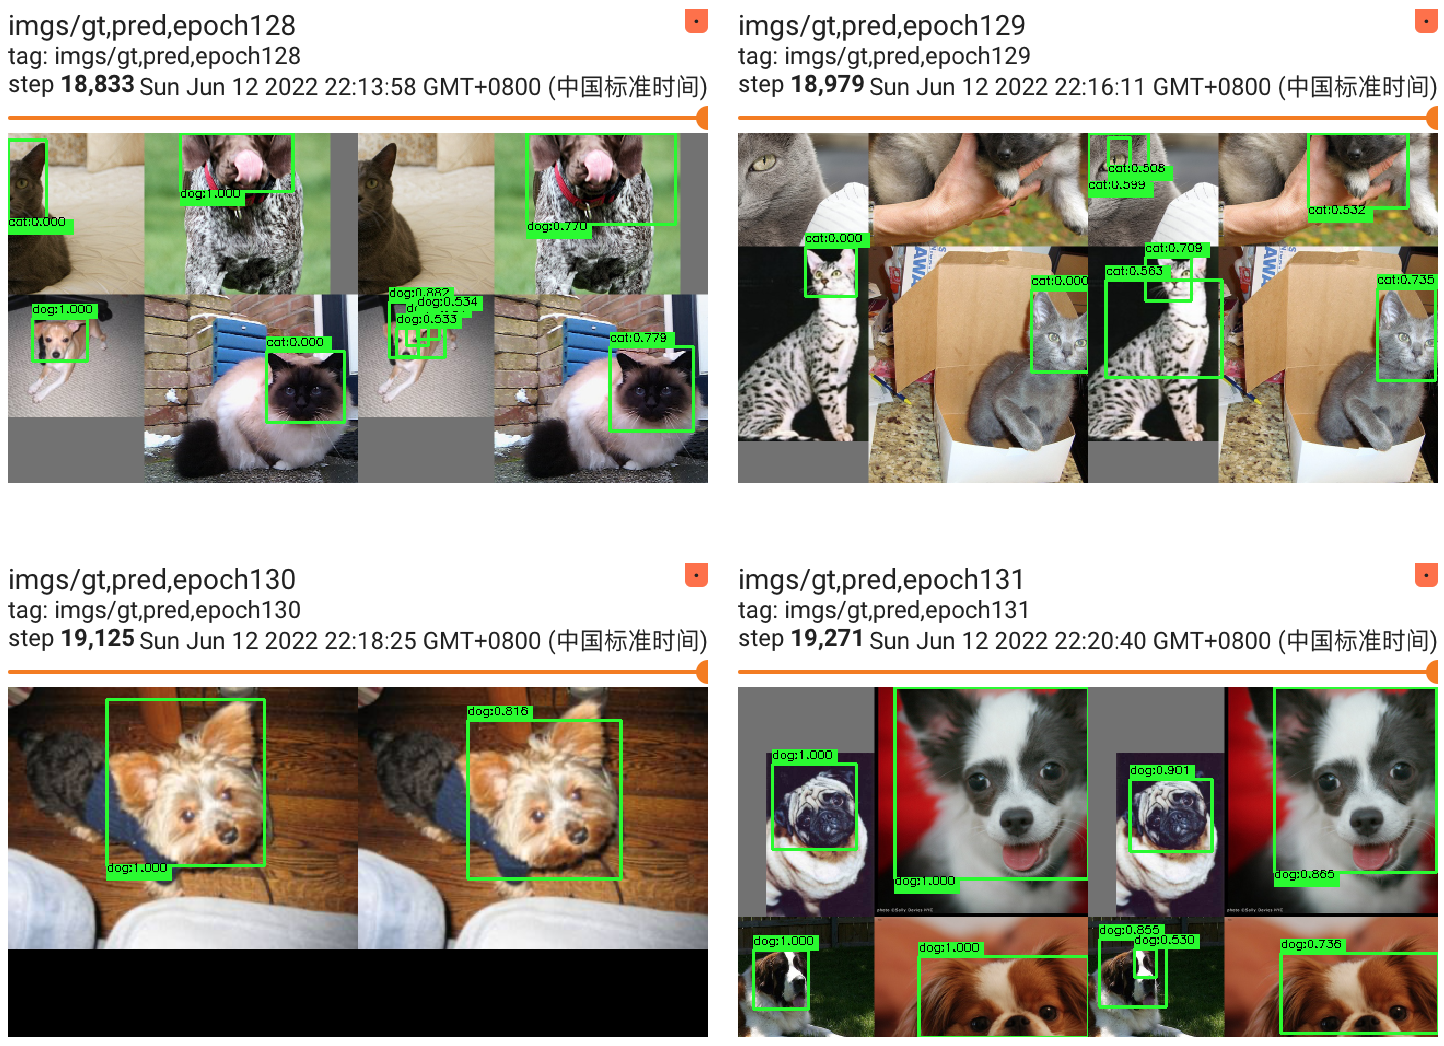 )
)
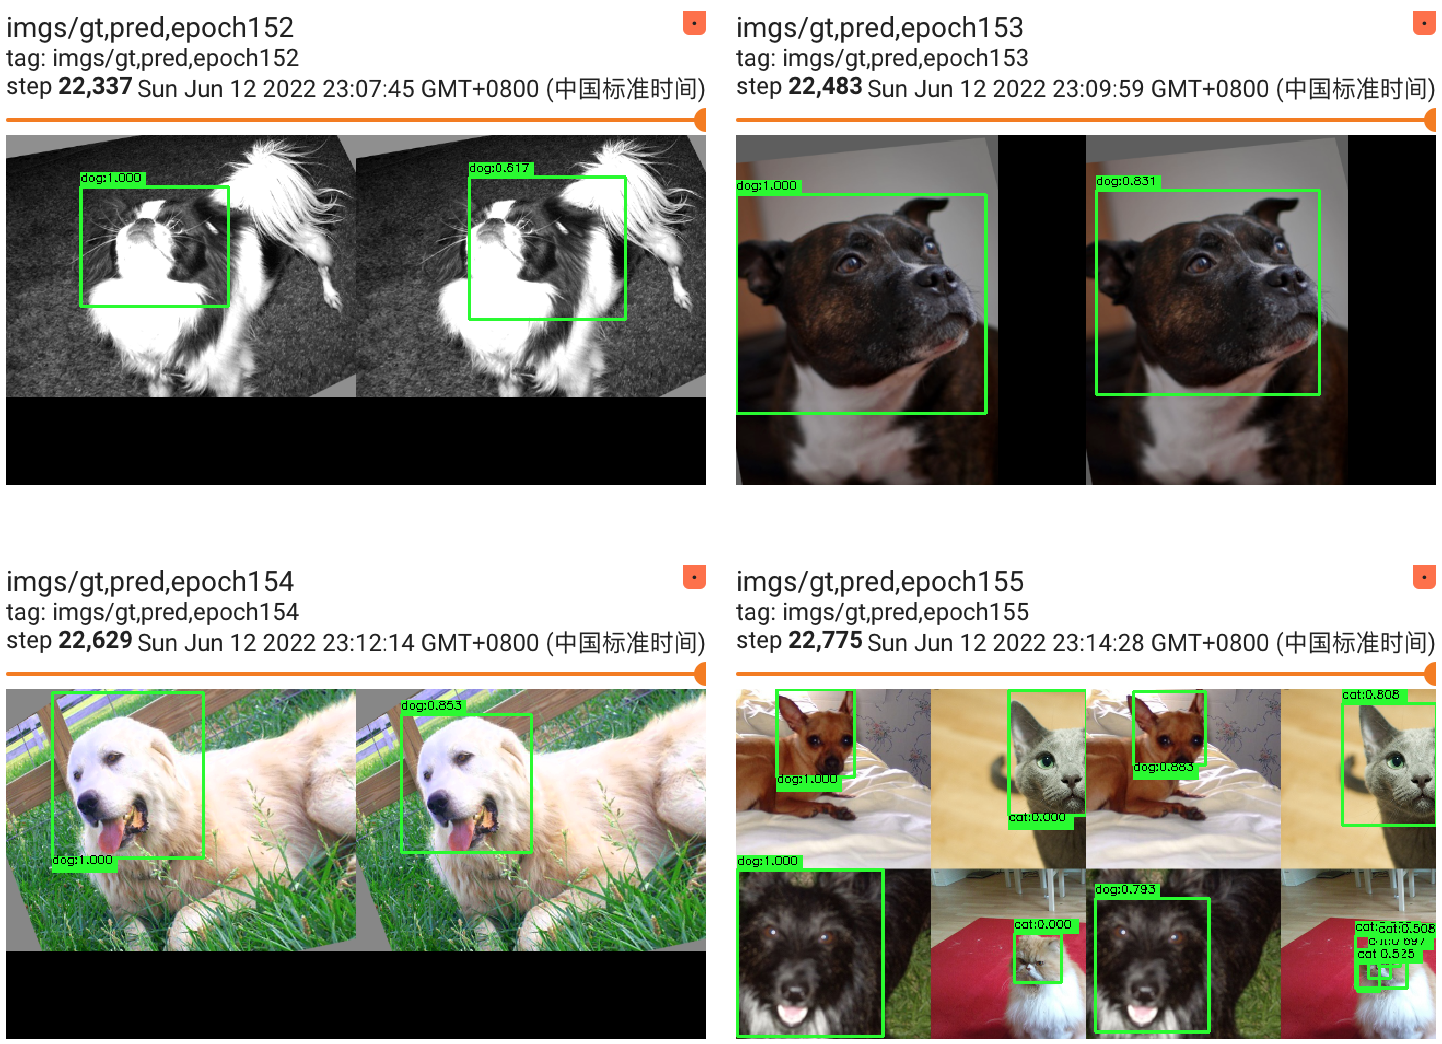
TFLiteAndroid 测试效果:


- mAP@0.5/mAP@0.5:0.95/精度/召回率
| class | mAP@0.5 | mAP@0.5:0.95 | precision | recall |
|---|---|---|---|---|
| cat | 0.962680 | 0.672483 | 0.721003 | 0.958333 |
| dog | 0.934285 | 0.546893 | 0.770701 | 0.923664 |
| total | 0.948482 | 0.609688 | 0.745852 | 0.940999 |
Requirements
pip3 install -r requirements.txtGet start
- 下载数据集
https://www.kaggle.com/datasets/andrewmvd/dog-and-cat-detection/download
或者从releasev1.0下载:
https://github.com/yyccR/yolov5_in_tf2_keras/releases/download/v1.0/JPEGImages.zip
解压数据将images目录修改为JPEGImages, 放到 ./data/cat_dog_face_data下
1. 训练
```python
python3 train.py-
tensorboard
tensorboard --host 0.0.0.0 --logdir ./logs/ --port 8053 --samples_per_plugin=images=40 -
查看
http://127.0.0.1:8053 -
测试, 修改
detect.py里面input_image和model_pathpython3 detect.py -
评估验证
python3 val.py -
导出
TFLite格式cd ./data python3 ./h5_to_tfite.py -
导出
ONNX格式cd ./data python3 ./h5_to_onnx.py
训练自己的数据
- labelme打标自己的数据
- 打开
data/labelme2coco.py脚本, 修改如下地方input_dir = '这里写labelme打标时保存json标记文件的目录' output_dir = '这里写要转CoCo格式的目录,建议建一个空目录' labels = "这里是你打标时所有的类别名, txt文本即可, 每行一个类, 类名无需加引号" - 执行
data/labelme2coco.py脚本会在output_dir生成对应的json文件和图片 - 修改
train.py文件中train_coco_json,val_coco_json,num_class,classes - 开始训练,
python3 train.py